Susan Roberts
When I think of a crowd-pleasing dessert, lunch lady brownies sit at the top of the list. They have a great balance of richness and sweetness, making them the perfect companion to a scoop of vanilla ice cream or a steaming cup of coffee.
Picture this: it’s a sunny afternoon, you’re hosting friends for a barbecue, and as you serve these brownies, everyone’s face lights up. It’s a little slice of nostalgia that packs a punch of flavor and an overload of happiness.

Lunch lady brownies are more than just a treat; they’re a comforting reminder of simpler times. These fudgy delights are a staple in school cafeteria lunches, consistently dishing out smiles and seconds.
With their thick texture and a decadent layer of frosting, these brownies require only a handful of everyday ingredients and a little bit of time. Trust me, once you whip up a batch, you’ll see how quickly they become a favorite in your house.
You Might Like These Recipes!
Best Choc Chip Cookie Recipe In The World Recipe
What is Best Lunch Lady Brownies Recipe?
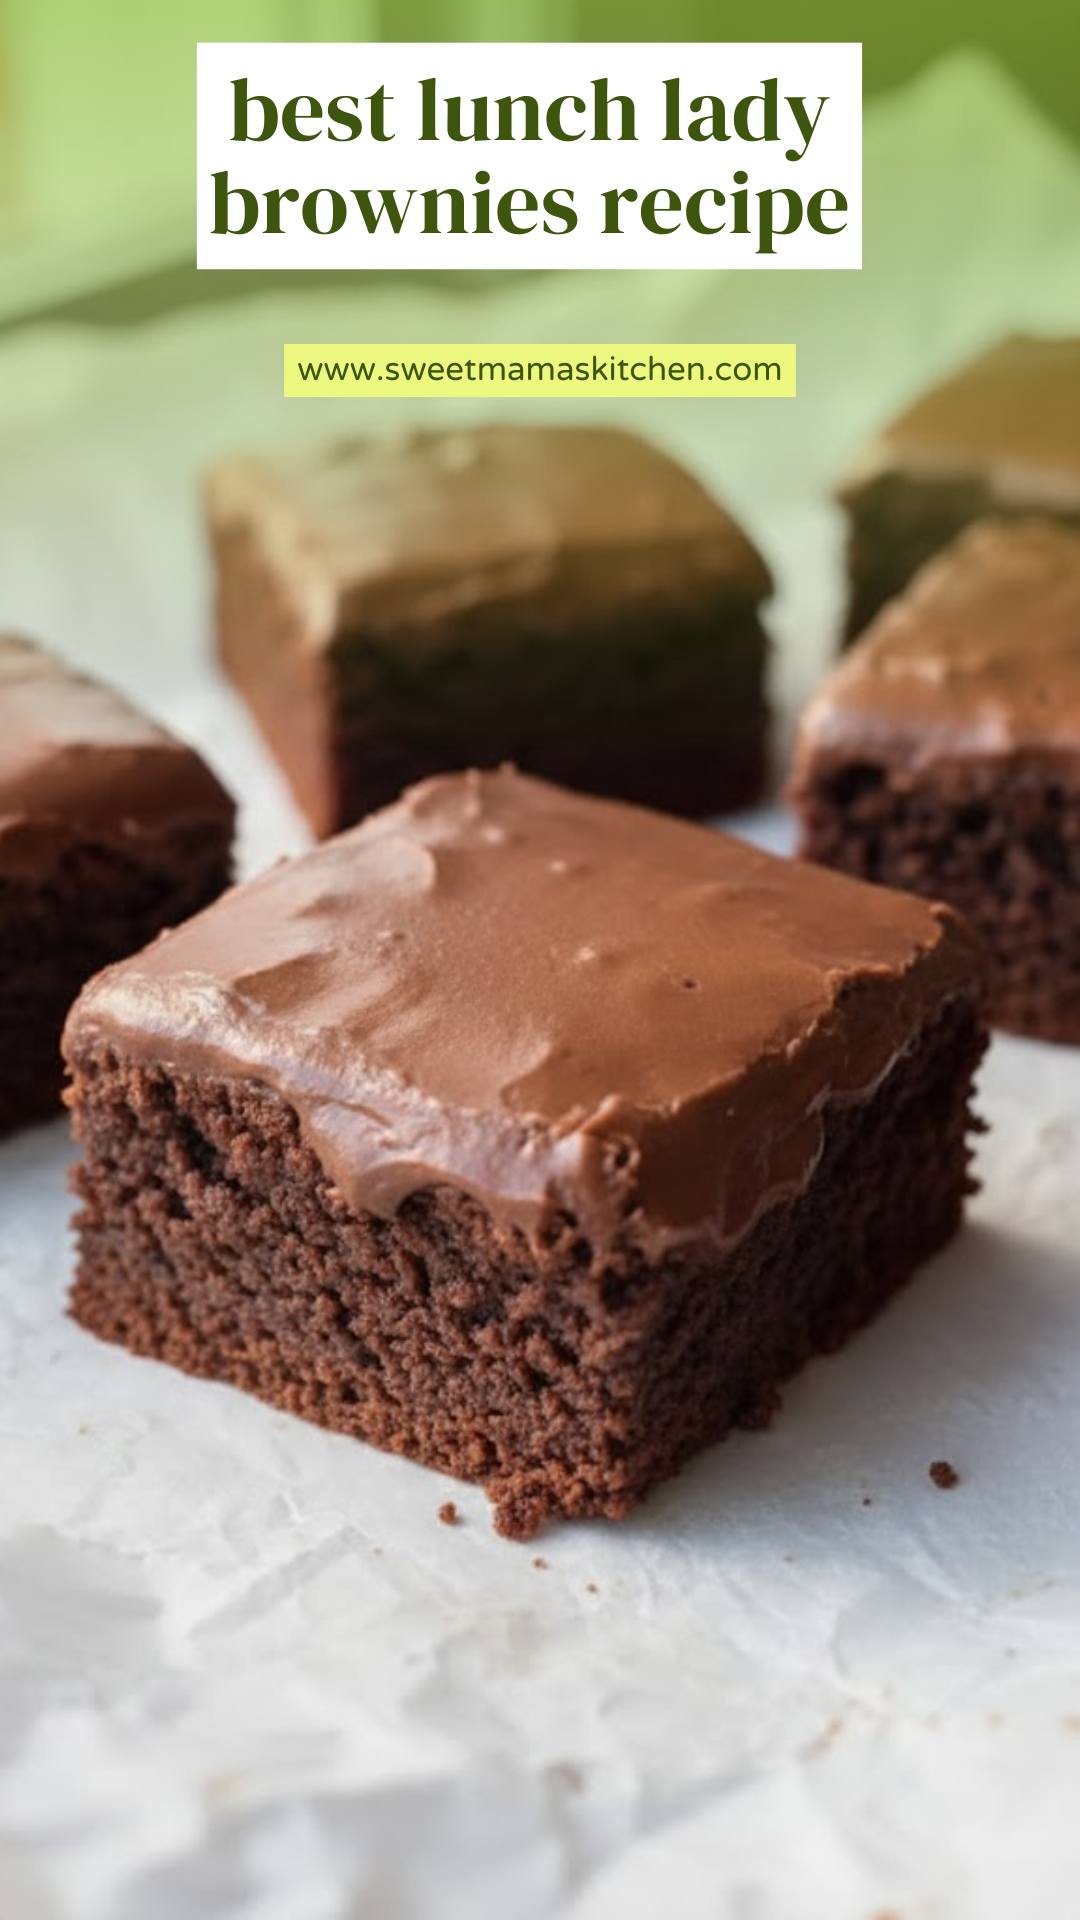
Best lunch lady brownies are simple yet satisfying chocolate squares, baked until perfectly soft and chewy, then topped with a sweet chocolate frosting. They combine the classic flavors of cocoa and vanilla and are known for their thick, cake-like consistency, making them a nostalgic dessert option that never fails to impress. These brownies are great for potlucks, birthday parties, or just a treat for yourself at the end of a long day.
Why This Recipe Works?
This recipe works beautifully because it hits that sweet spot between fudgy and cakey. The combination of cocoa and melted butter creates a rich base that’s complemented by a creamy frosting. The addition of extra ingredients like vanilla ensures every bite is bursting with flavor. Plus, you can whip these up quickly, allowing you plenty of time for relaxing or doing whatever makes you happy!
Ingredients You’ll Need To Make This Best Lunch Lady Brownies Recipe

– 1 cup of melted butter
– 2 cups of all-purpose flour
– 2 cups of granulated sugar
– 4 large eggs
– 1/2 cup of unsweetened cocoa powder
– 4 teaspoons of vanilla extract
– 1/2 teaspoon of baking powder (for a leavening boost)
– 1/4 cup of evaporated milk (or regular milk—your choice)
– 1/4 cup of softened butter (for the frosting)
– 3 cups of powdered sugar
– 1/4 cup of unsweetened cocoa powder (for frosting)
Ingredients From : thesouthernladycooks.com
How to Make Best Lunch Lady Brownies Recipe?
Baking the perfect lunch lady brownies is a simple process that will have your kitchen buzzing with chocolatey goodness. Before you dive into the details, it’s crucial to gather everything you’ll need, from mixing bowls to that favorite spatula that makes spreading frosting a dream. Let’s walk through the steps together!
Step-by-step Directions
Step 1: Preheat and Prepare

Start by preheating your oven to 350 degrees Fahrenheit. While that’s warming up, line a 9×13-inch baking dish with foil. After securing it in place, give the foil a light spray with non-stick cooking spray. Trust me, this ensures easy brownie removal later!
Step 2: Combine Cocoa and Butter

In a mixing bowl, combine the melted butter and the cocoa powder. Using an electric mixer, blend these two together until smooth and fully incorporated. This is where the magic begins; the rich chocolate aroma will start to fill your kitchen!
Step 3: Add Dry Ingredients

Next up, gradually add in the flour and granulated sugar. Keep mixing until everything starts to come together. You’ll notice the batter thickening—that’s just a sign of wonderful things to come.
Step 4: Incorporate Eggs and Vanilla

Now, it’s time to add those four large eggs, one at a time, along with the vanilla extract. Mix until just combined. Be cautious not to over-mix; the batter should be thick and fudgy, not overly airy.
Step 5: Spread in the Baking Dish

Using a spatula, spread the brownie batter evenly into your prepared baking dish. Since the batter is thick, don’t hesitate to take your time with this step. Make sure it’s spread equally across the pan.
Step 6: Bake

Place the dish in the preheated oven and bake for 25-30 minutes. Keep an eye on them; a toothpick inserted in the center should come out clean. Personally, mine usually take 30 minutes, but ovens can vary, so check a bit early!
Step 7: Let Cool and Frost
Once done, allow the brownies to cool in the pan for about 15 minutes. This is an important step, as you want them warm but not scorching hot when you frost them. For the frosting, beat together the softened butter, evaporated milk, 3 cups of powdered sugar, and extra cocoa powder until smooth. Spread it generously over the warm brownies.
Step 8: Cool and Cut
Let the brownies cool completely before cutting them into squares. Patience is essential here—the cooling helps the frosting set and makes for cleaner cuts. If your frosting feels thick, a splash of milk can help achieve your desired consistency.
Tips
– Use Quality Ingredients: Since brownies celebrate cocoa, using good-quality cocoa powder and butter makes a difference.
– Monitor Baking Time: Ovens can differ; check for doneness a few minutes before the timer runs out.
– Experiment with Add-ins: Feel free to add chocolate chips or nuts to the brownie batter.
– Frosting Variations: Swap the chocolate frosting for cream cheese frosting for a fun twist!
– Chill for Serving: Letting brownies chill in the fridge can enhance the flavor and texture, especially if you love that fudgy bite.
How to Store The Leftovers?
Once cooled, if there are any brownies left (which is doubtful!), store them in an airtight container at room temperature for up to five days. If you want to keep them fresher longer, you can refrigerate them, but let them come to room temperature before serving for the best texture.
What Are Some Recommended Side Dishes for Best Lunch Lady Brownies?
– Vanilla Ice Cream: Serves as a classic partner, creating a delightful contrast of temperatures.
– Fresh Berries: Strawberries or raspberries add a refreshing tartness that balances out the sweetness.
– Whipped Cream: A dollop of whipped cream on top adds an airy touch and additional creaminess.
– Chocolate Sauce: Drizzle a bit for that extra chocolatey goodness—it never hurts!
– Coffee: A warm cup of coffee or espresso makes a perfect pairing, enhancing the rich chocolate flavor.
If the Items Are Not Available in Your Pantry, What Are Some Substitute Options for the Ingredients?
– Unsweetened Cocoa Powder: Carob powder can be used for a different flavor profile while still providing a chocolaty experience.
– All-Purpose Flour: Almond flour can be substituted for a gluten-free option; just be mindful that the texture may change slightly.
– Granulated Sugar: Try using coconut sugar for a less processed option with a slight caramel flavor.
– Butter: Coconut oil can work as a dairy-free alternative, providing a different but delightful taste.
– Evaporated Milk: Coconut milk can be used in place of evaporated milk for a dairy-free version, though it adds a tropical flair.
Conclusion
There you have it—the best lunch lady brownies recipe, a treat that’s simple to make and packed with nostalgia. Whether you’re whipping them up for a gathering or indulging in yourself, these brownies are sure to impress.
They remind us that sometimes, the simplest ingredients can create the most delightful memories. So, roll up those sleeves, and let’s get baking!
You Might Also Like These Latest Recipes!
Best Choc Chip Cookie Recipe In The World Recipe
Best Lunch Lady Brownies Recipe – Sweet Mama’s Kitchen
Ingredients
Method
- Start by preheating your oven to 350 degrees Fahrenheit. While that’s warming up, line a 9×13-inch baking dish with foil. After securing it in place, give the foil a light spray with non-stick cooking spray. Trust me, this ensures easy brownie removal later!
- In a mixing bowl, combine the melted butter and the cocoa powder. Using an electric mixer, blend these two together until smooth and fully incorporated. This is where the magic begins; the rich chocolate aroma will start to fill your kitchen!
- Next up, gradually add in the flour and granulated sugar. Keep mixing until everything starts to come together. You’ll notice the batter thickening—that’s just a sign of wonderful things to come.
- Now, it’s time to add those four large eggs, one at a time, along with the vanilla extract. Mix until just combined. Be cautious not to over-mix; the batter should be thick and fudgy, not overly airy.
- Using a spatula, spread the brownie batter evenly into your prepared baking dish. Since the batter is thick, don’t hesitate to take your time with this step. Make sure it’s spread equally across the pan.
- Place the dish in the preheated oven and bake for 25-30 minutes. Keep an eye on them; a toothpick inserted in the center should come out clean. Personally, mine usually take 30 minutes, but ovens can vary, so check a bit early!
- Once done, allow the brownies to cool in the pan for about 15 minutes. This is an important step, as you want them warm but not scorching hot when you frost them. For the frosting, beat together the softened butter, evaporated milk, 3 cups of powdered sugar, and extra cocoa powder until smooth. Spread it generously over the warm brownies.
- Let the brownies cool completely before cutting them into squares. Patience is essential here—the cooling helps the frosting set and makes for cleaner cuts. If your frosting feels thick, a splash of milk can help achieve your desired consistency.