Ingredients
Method
Step 1: Preheat the Oven
- Preheat your oven to 350°F (177°C). This temperature is crucial for that lovely golden color our cakes will acquire. Simultaneously, gather three 6-inch cake pans. Grease them well and line the bottoms with parchment paper to ensure our cakes come out easily once baked. Trust me; you’ll thank me later for this tip!
Step 2: Prepare the Dry Ingredients
- Now, let’s combine our dry ingredients. In a bowl, whisk together the cake flour, baking powder, baking soda, and salt. This step ensures everything is evenly distributed. Set this bowl aside while we move on to the wet ingredients.
Step 3: Cream the Butter and Sugar
- Grab your mixer and a large mixing bowl. Beat the softened unsalted butter on high speed until it’s nice and creamy. This should take about one minute. Then, gradually add the granulated sugar and keep mixing for another two minutes until the mixture is fluffy and light. Don't forget to scrape down the sides of the bowl to make sure everything is blended.
Step 4: Add Egg Whites and Extracts
- With your mixer on medium speed, add the egg whites one at a time, then the pure vanilla extract and almond extract. Mix until it’s all well combined. Now, add the room-temperature sour cream. This addition is what lends moisture and makes our cake incredibly tender.
Step 5: Mix in Dry Ingredients
- Reduce the mixer speed to low, and gradually add in the flour mixture that you set aside earlier. Once it’s combined, slowly pour in the room-temperature milk. Don’t be too eager to mix; we want to keep it light, so stop mixing as soon as everything is incorporated. If you notice any lumps, gently whisk by hand to get everything smooth.
Step 6: Pour and Bake
- Divide the batter evenly among the prepared cake pans. I like to use a kitchen scale for this—makes it easier to get the layers even. Bake in the preheated oven for 18-21 minutes. A toothpick inserted into the center should come out clean. Once done, allow the cakes to cool in the pans for about 10 minutes before transferring them to a wire rack to cool completely. Cooling is key; frosting on warm cake is like trying to put your shoes on with wet socks!
Step 7: Make the Buttercream
- Using the same mixing bowl, beat the softened butter on medium speed for two minutes until it’s creamy. Gradually add in 4 and 1/2 cups of confectioners’ sugar, followed by the heavy cream and vanilla extract. Beat on low speed to start, and slowly increase to medium-high, beating for about two minutes. If the frosting is too thin, add a bit more powdered sugar. Too thick? A dash more cream should do the trick. Add a pinch of salt to taste if it’s on the sweeter side.
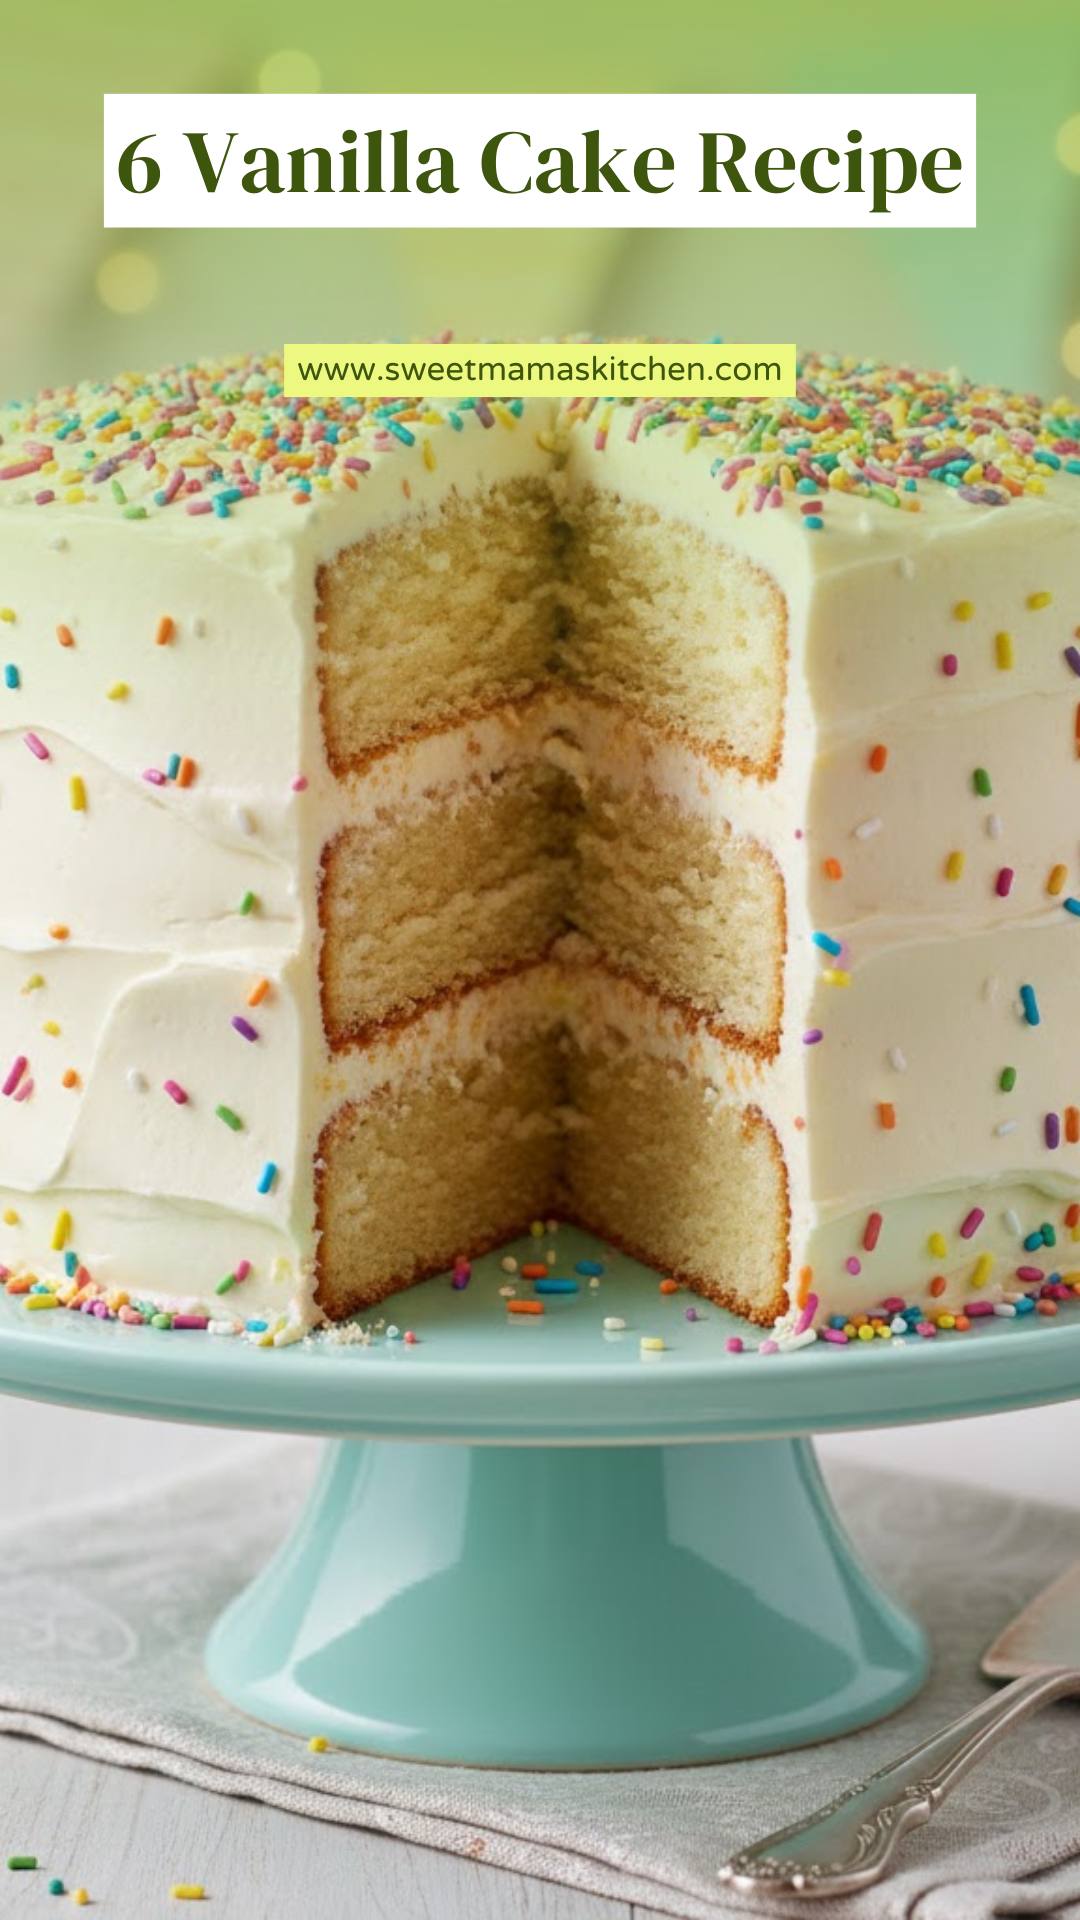
Step 8: Assemble and Frost
- Here comes the fun part! Use a serrated knife to trim the tops of your cooled cakes, giving them a flat surface. Place the first cake layer on your cake stand or serving plate, and generously cover the top with about 3/4 cup of frosting. Place the second layer on top, repeating the process, and then top it with the last layer. Now, use the remaining frosting to cover the top and sides. A bench scraper makes smoothing the frosting a breeze. Don’t forget the sprinkles for that festive touch!
Step 9: Chill and Serve
- For best results, chill your beautiful cake in the refrigerator for about 30-45 minutes to help it hold its shape—especially when you slice into it. Finally, serve it with your favorite accompaniments, and watch the smiles light up the room!
Notes
- Use room-temperature ingredients for optimal blending.
- You can refrigerate the buttercream for up to a week if you make it in advance.
- Feel free to substitute almond extract with more vanilla if you prefer a stronger vanilla flavor.
- This cake can be frozen. Wrap layers tightly in plastic wrap and foil and store for up to 2 months.
- If you want to experiment with flavors, feel free to add lemon zest or cocoa powder in small amounts to the batter.