Ingredients
Method
- Let’s get our hands doughy and create these rolls step by step. It’s simpler than it sounds, I promise!
Step 1: Prepare the Dough
- Start by preheating your oven to 375°F (190°C). Generously grease a baking dish or line it with parchment paper.
- In a mixing bowl, combine the flour, sugar, baking powder, and salt. Mix well. Then, add in the melted butter and buttermilk. Crack the egg and pour in the vanilla extract.
- Use a wooden spoon or your hands to combine everything into a soft dough. It should come together nicely but stay slightly sticky. If it’s too sticky, you can add a bit more flour.
Step 2: Roll Out the Dough
- Dust your countertop with flour. Turn the dough out onto the floured surface. Roll it out into a rectangle, about 1/4 inch thick, approximately 12x15 inches.
Step 3: Make the Filling
- In a small bowl, blend the softened butter, brown sugar, ground cinnamon, and nutmeg. Spread this mixture evenly over the rolled-out dough, ensuring an even coating.
Step 4: Roll Up the Dough
- Starting from one long edge, carefully roll the dough into a tight cylinder. Don’t rush—take your time to get a nice tight roll, which helps keep the filling intact.
Step 5: Slice the Rolls
- Using a sharp knife or a piece of dental floss (yes, it’s a trick I learned from an online baking community), slice the rolled dough into 12 equal pieces. Place each roll in the prepared baking dish, cut side up.
Step 6: Bake the Rolls
- Slide the dish into your preheated oven and bake for 20-25 minutes, or until golden brown.
Step 7: Make the Cream Cheese Icing
- While the rolls are baking, prepare the cream cheese icing. Mix together the cream cheese, butter, powdered sugar, and vanilla extract until smooth and creamy.
Step 8: Serving Time
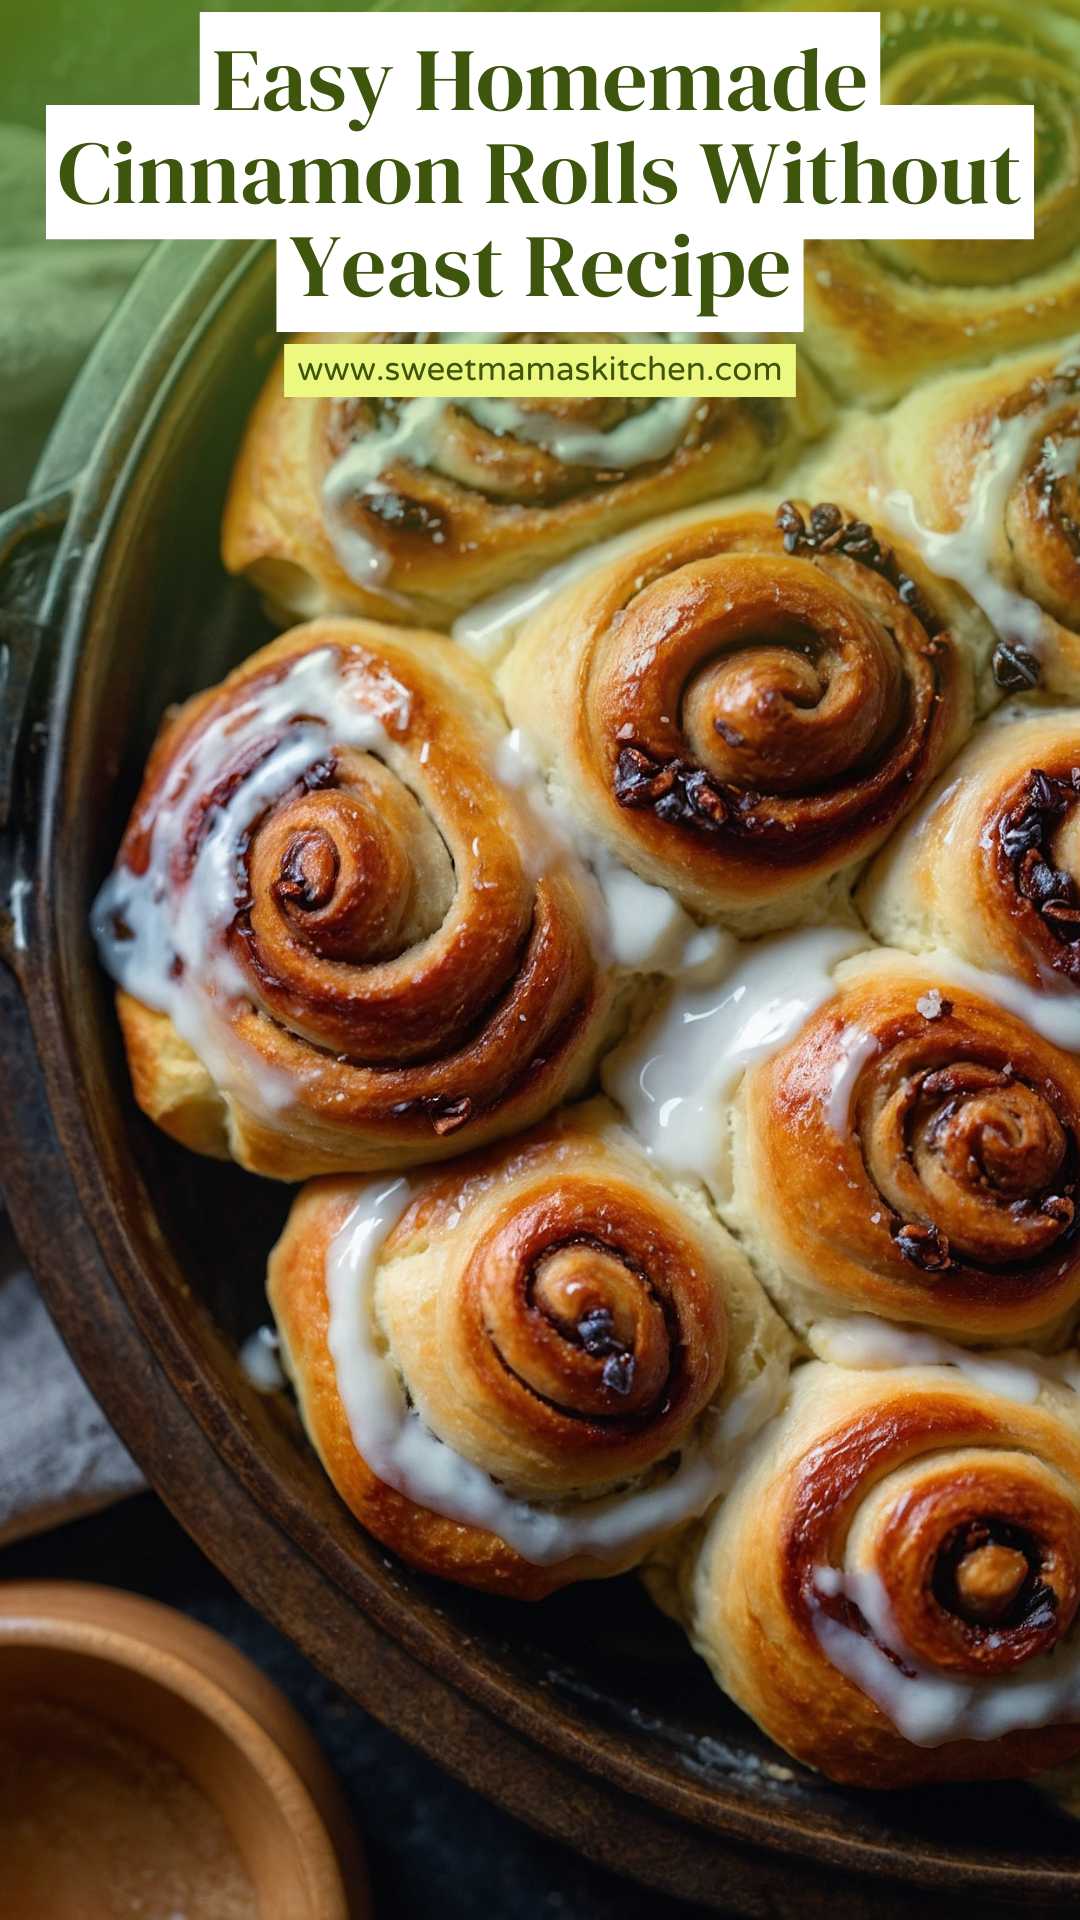
- Once the rolls are out of the oven, drizzle the icing generously over the warm rolls. Serve immediately for the best experience.
Notes
Here’s a collection of nuggets to ensure your baking goes smoothly:
Prep the Dough Ahead of Time: You can make the dough ahead and keep it in the refrigerator for a few hours. Just let it come to room temperature before rolling it out.
Don’t Overwork the Dough: Mix until ingredients are just combined. Overworking can lead to tough rolls.
Water Temperature Matters: For the best flavor, use melted butter that’s cooled. Hot butter can affect how the dough rises.
Adjust Spices to Taste: Feel free to experiment a bit with spices in the filling. A pinch of cardamom can add a lovely twist!
Use an Offset Spatula: It makes spreading the filling much easier and you’ll get a thin, even layer.