Ingredients
Method
- Let’s roll up our sleeves and dive into the steps. Trust me, the process is half the fun when it comes to baking.
Step 1: Preheat Your Oven
- Start off by preheating your oven to 350°F (175°C). Grease your loaf pan generously with butter or baking spray. This ensures the cake slides right out when it’s done.
Step 2: Mix the Wet Ingredients
- In a large mixing bowl, cream together the softened butter and granulated sugar. I love using a hand mixer for this—it makes the job quick and fluffy. Once the mixture is light and airy, add the eggs, one at a time, mixing well after each addition. Then, stir in the vanilla extract, lemon zest, and lemon juice. The aromatic lemony goodness starts to fill your kitchen.
Step 3: Combine the Dry Ingredients
- In a separate bowl, whisk together the flour, baking powder, baking soda, salt, and cardamom (if using). Make sure these ingredients are well combined; this promotes even leavening.
Step 4: Bring it All Together
- Slowly add the dry mixture to the wet ingredients, alternating with the sour cream. Start and end with the flour mixture. Gently fold everything together until just combined. You don’t want to overmix—this can make your cake dense.
Step 5: Bake the Cake
- Pour the batter into your prepared loaf pan. Smooth the top with a spatula. Bake for 50-60 minutes, or until a toothpick inserted into the center comes out clean. Every oven varies, so keep an eye on it.
Step 6: Cool and Glaze
- Once your cake is done baking, remove it from the oven and let it cool in the pan for about 15-20 minutes. Then, transfer it to a wire rack to cool completely. While it cools, prepare your glaze by whisking together the powdered sugar and lemon juice. Adjust the consistency as necessary—aim for a drizzle that doesn’t run off too fast.
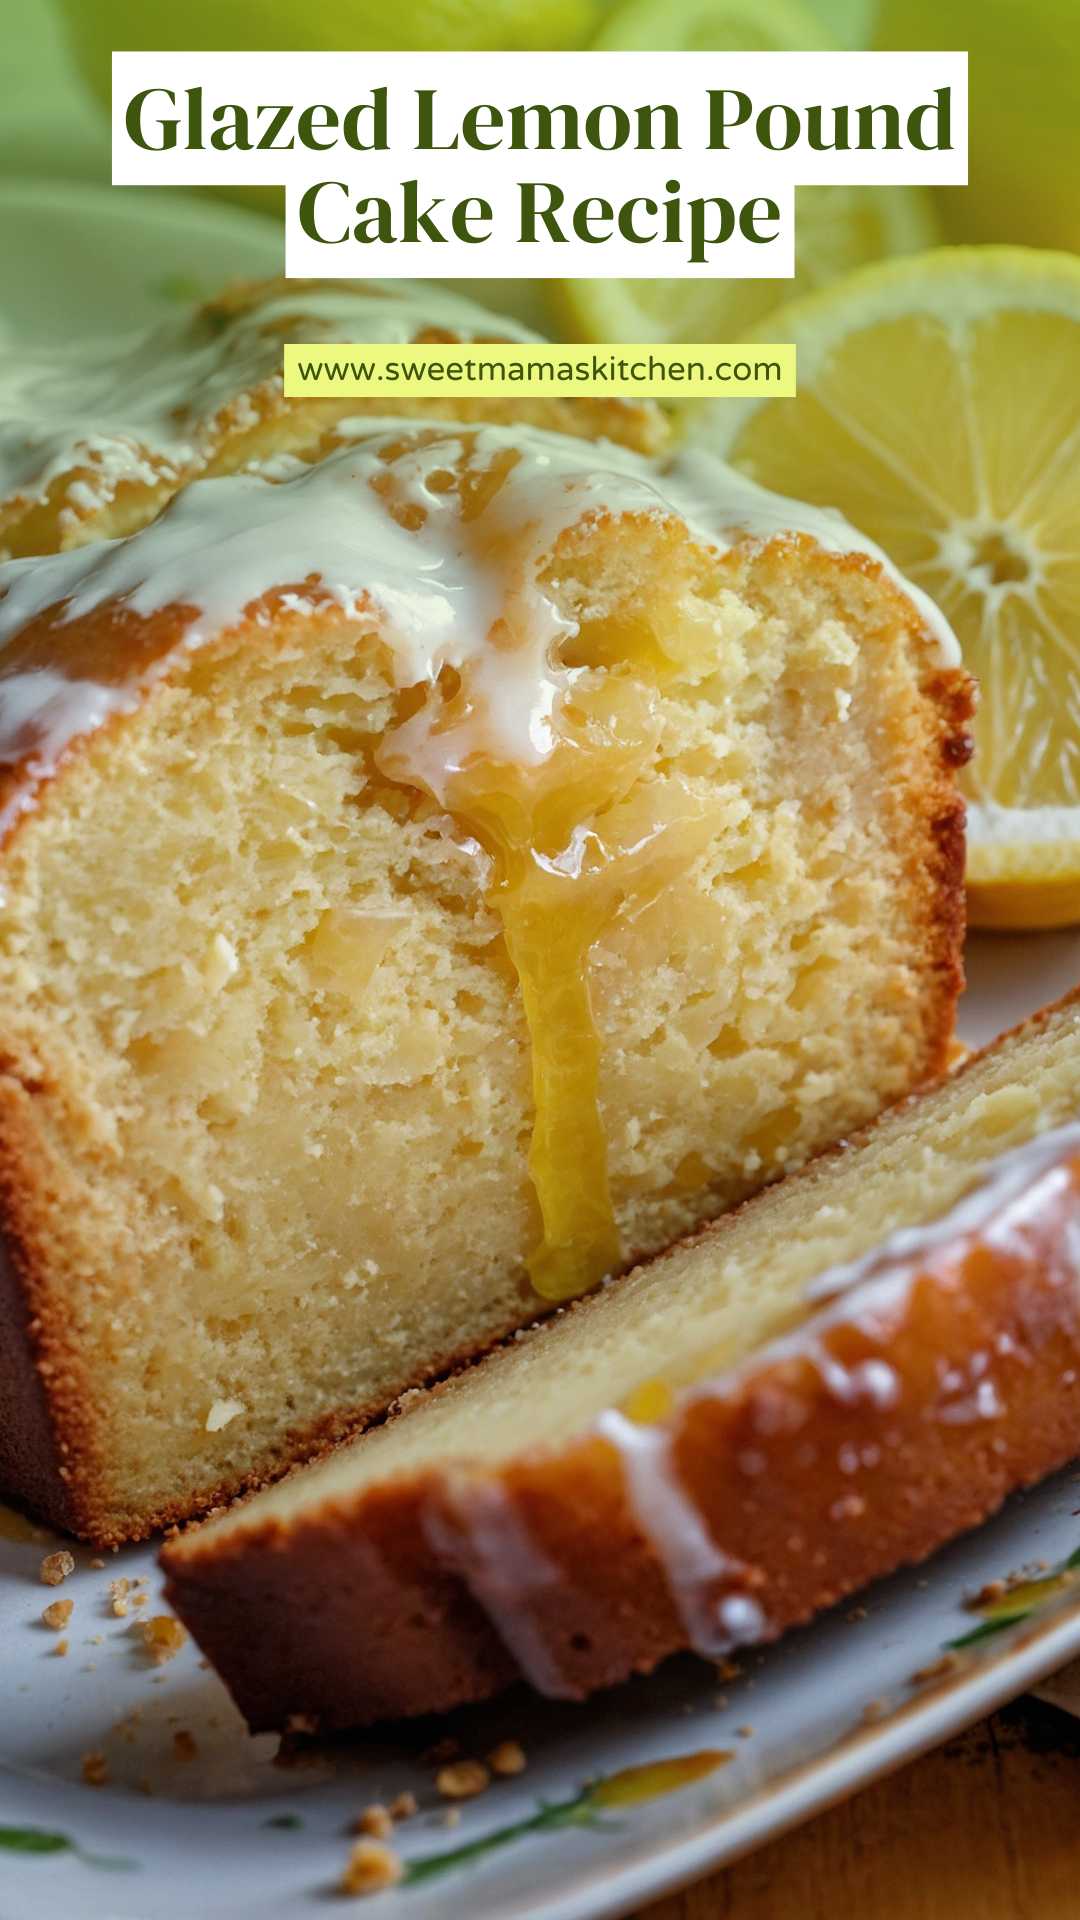
- Once cooled, drizzle the glaze on top, letting it cascade down the sides. The visual is stunning, and you’re going to want to dig in right away.
Notes
Here are some handy tips to simplify your baking experience:
- Room Temperature Ingredients: Ensure your eggs and butter are at room temperature. This helps achieve better incorporation, resulting in a lighter cake.
- Proper Measuring: Spoon flour into measuring cups and level it off with a knife. Don’t scoop directly from the bag; it packs down the flour and can lead to a dense cake.
- Check for Doneness: Ovens may vary in temperature. Start checking your cake a few minutes before the suggested baking time.
- Let it Cool: Ensure the cake is completely cool before glazing. A hot cake can cause the glaze to melt and slide off.
- Store Wisely: Store leftover cake in an airtight container at room temperature for up to three days. This keeps it fresh and delicious.