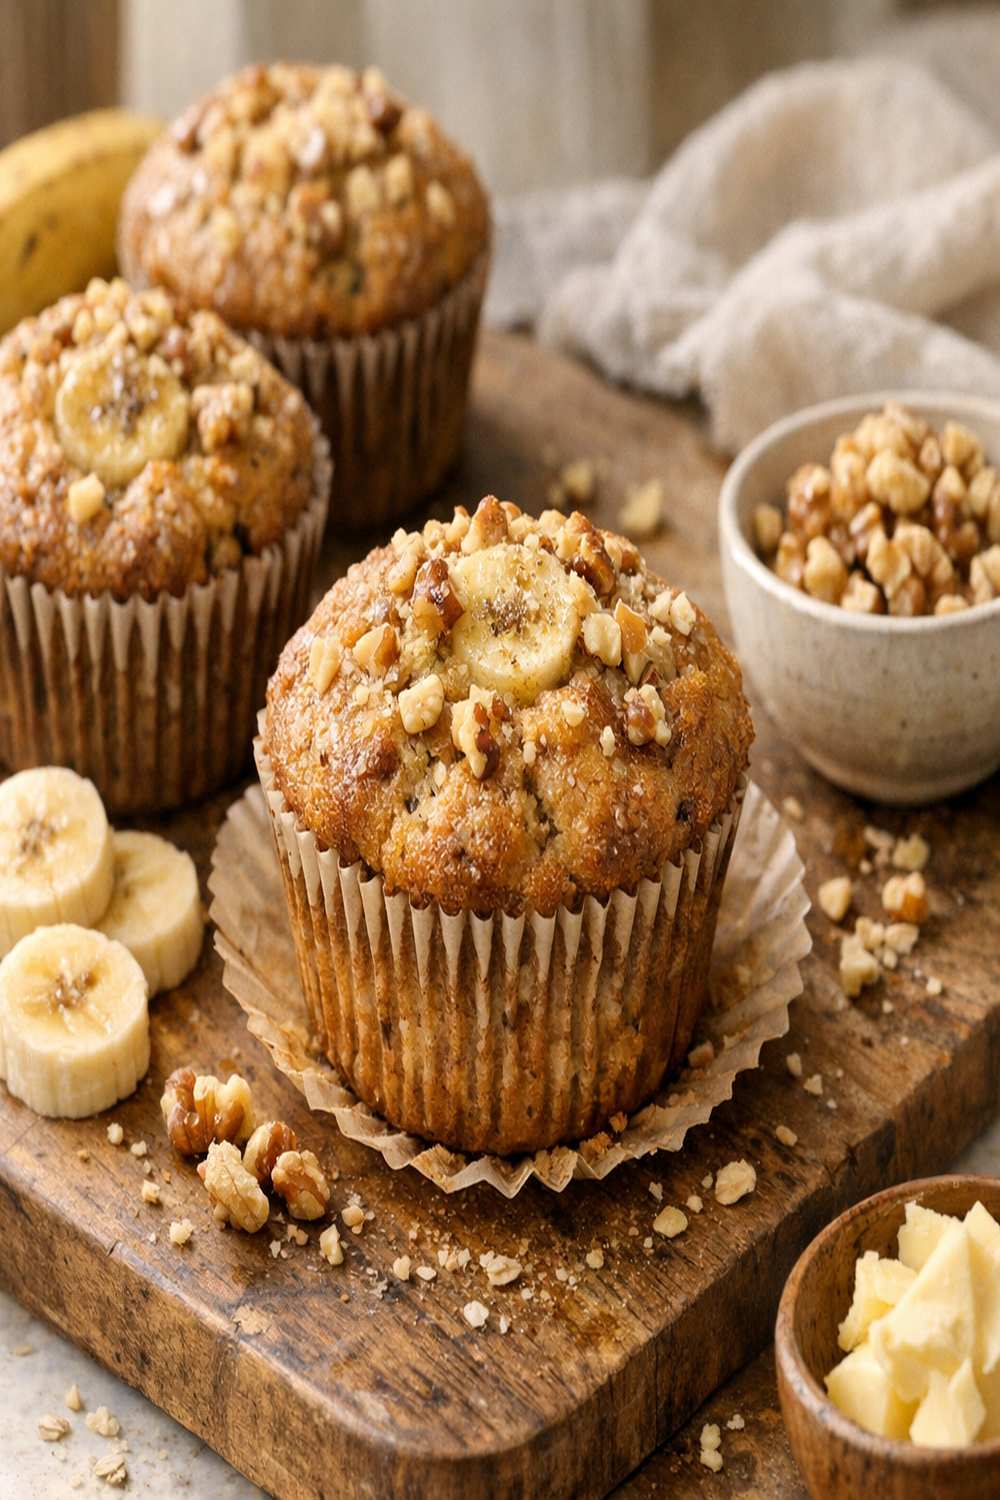

Ingredients
Method
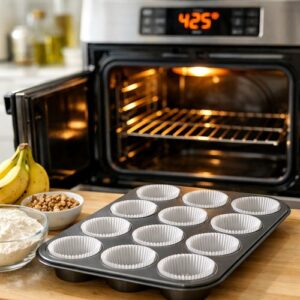
Step 1: Prepare Your Oven and Pan
- Preheat your oven to 425°F (218°C) while you gather your ingredients. This isn't just busywork—a properly preheated oven is essential for immediate oven spring. Use either nonstick spray (my preference for easy cleanup) or insert paper liners into your 12-count muffin pan. If using liners, the paper helps muffins bake evenly and pull away cleanly without sticking to the pan's edges. This step takes 2 minutes but makes the difference between frustration and success.
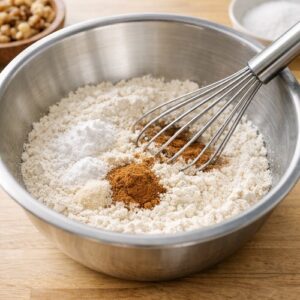
Step 2: Combine Your Dry Ingredients
- In a medium mixing bowl, whisk together the flour (spooned and leveled, never scooped directly from the bag), baking powder, baking soda, salt, cinnamon, and nutmeg. Whisk for about 15-20 seconds, making sure the leavening agents distribute evenly throughout the flour. This even distribution is critical—clumps of baking soda will create bitter, metallic-tasting spots in your finished muffins. Set this bowl aside.
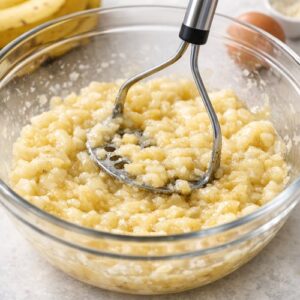
Step 3: Prepare and Combine Wet Ingredients
- Mash your bananas in a large mixing bowl until mostly smooth (some small pieces are fine and actually create nice texture variation). The bananas should be very ripe with brown speckles or even browning on the peel—this is when their starch-to-sugar conversion is maximized. Add your melted and slightly cooled butter, packed brown sugar, room-temperature egg, vanilla extract, and milk to the mashed bananas. Using an electric mixer on medium speed or whisking vigorously by hand, beat these wet ingredients together for about 1 minute until well combined and creamy. You should see the mixture lighten slightly and become more homogeneous.
Step 4: The Critical Fold
- Pour the dry ingredient mixture directly into the wet ingredients. Using a rubber spatula or wooden spoon, gently fold the mixture together using about 12-15 strokes until just combined. This is where many home bakers go wrong—over-mixing activates gluten, creating tough, dense muffins with tunnels (large air holes). You should see some small flour streaks remaining when you stop folding. The batter should be thick and chunky, not smooth. If you're adding nuts, fold them in at this final stage so they're distributed evenly without being crushed.
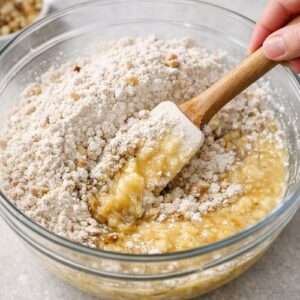
Step 5: Fill Your Muffin Pan
- Spoon the batter into your prepared muffin cups, filling each one all the way to the rim. I use an ice cream scoop for this—it ensures uniform sizing and even baking. Slightly mound the tops; they'll level out as they bake. At this point, you can bake immediately or cover and refrigerate for up to 24 hours. Cold batter actually bakes more evenly because the rise happens more gradually.
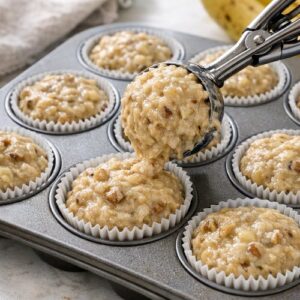
Step 6: The Two-Temperature Bake
- Place the filled muffin pan in your 425°F oven for exactly 5 minutes. You'll see the muffins begin to rise almost immediately—this is oven spring, and it's essential for light, airy texture. After 5 minutes, keeping the muffin pan in the oven, carefully reduce the temperature to 350°F (177°C) and bake for an additional 16-18 minutes21-23 minutes. The muffins are done when a toothpick inserted into the center of the largest muffin comes out clean or with just a few moist crumbs. The tops should be golden brown, and the edges should pull slightly away from the pan.
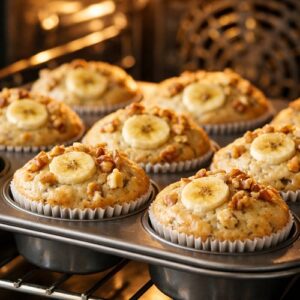
Step 7: Cool Properly
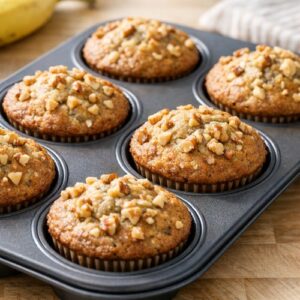
- Allow the muffins to cool in the pan for exactly 5 minutes. This cooling period lets the structure set without the residual heat continuing to cook the interiors. After 5 minutes, transfer them to a wire cooling rack. This rack placement is important—setting them directly on a counter traps steam against the bottom, creating a soggy base. Complete cooling takes about 20 minutes. Resist the urge to eat them immediately; they'll hold together better when fully cooled.
Notes
- Use the Ripeness Test for Maximum Flavor - The darker the banana peel (almost black with brown spotting), the higher the sugar content and the more intense the banana flavor in your finished muffins. If your bananas aren't quite ripe enough, place them in a paper bag with an apple or avocado for 1-2 days to accelerate ripening through ethylene gas
- Measure Flour by Weight When Possible - Scooping flour directly compacts it, and you'll end up using about 20% more than intended. My scale has been the single biggest game-changer in my baking consistency. If measuring by volume, spoon flour into your measuring cup and level with a knife
- Toast Your Nuts Before Chopping - I spread my walnuts on a sheet pan at 350°F for 8-10 minutes before chopping. This activates their oils and deepens their flavor profile. Your muffins will taste noticeably more sophisticated and nutty
- Freeze Muffins When Peak Texture - Freeze cooled muffins in an airtight container for up to 3 months. Thaw at room temperature for 30 minutes. The frozen-then-thawed muffin actually has a superior crumb structure because ice crystals create micro-channels during freezing and thawing that stay tender
- Don't Skip the Milk - That small amount of milk adjusts the batter to perfect consistency. Without it, the batter becomes too thick and the muffins bake up dense. With too much milk, they become cupcake-like rather than properly muffin-textured