
Ingredients
Method
Step 1: Prepare Your Pan and Preheat
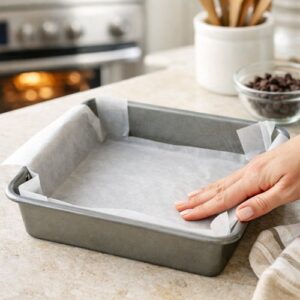
- Start by preheating your oven to 350°F. This is lower than some brownie recipes call for, but the longer, gentler bake helps both layers cook evenly without the edges browning too fast. Line a 9x13-inch baking pan with parchment paper or aluminum foil, leaving an overhang on two sides. This overhang is your friend—it makes removing the whole batch easy and keeps cleanup to literally nothing. Press the parchment into the corners gently so it stays in place.
Step 2: Make the Brownie Base—It Starts With Melted Butter
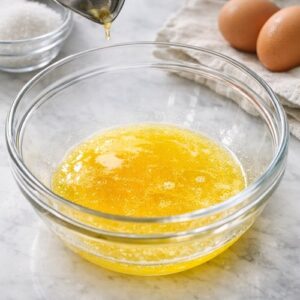
- Pour your melted butter into a medium mixing bowl and let it cool for about 2 minutes. You want it warm but not hot—hot butter will scramble your eggs when they go in. Whisk in the cocoa powder until completely smooth. This step matters more than you'd think. If you just dump cocoa into the wet ingredients and stir, you'll get little cocoa pockets. Whisking it creates an emulsion that distributes the cocoa flavor evenly. Add both sugars and salt. Stir until you get a slightly grainy, thick paste. This is where the brownie base starts developing its signature texture.
Step 3: Incorporate the Eggs and Vanilla
- Add one egg at a time, stirring vigorously for about 30 seconds after each addition. You want each egg fully integrated before adding the next one. This creates better emulsification and a silkier final texture. Stir in the vanilla extract. Notice how the mixture looks slightly thicker now? That's the egg doing its job—binding everything together.
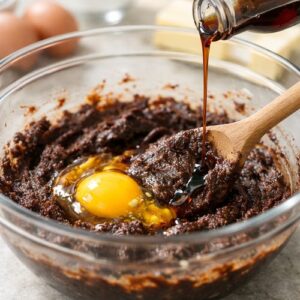
Step 4: Fold in the Flour and Chocolate
- Sprinkle the flour over the top of your mixture and fold gently with a spatula until just combined. Do not overmix—overmixing develops gluten, which makes the brownie layer tough instead of fudgy. Fold in the chocolate chips gently. They'll sink slightly as the brownie bakes, so distribute them evenly. Pour the brownie batter into your prepared pan and spread it into an even layer. This doesn't need to be perfect—it'll be covered by cookie dough anyway.
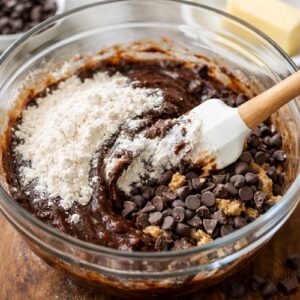
Step 5: Bake the Brownie Base Layer (First 15 Minutes)
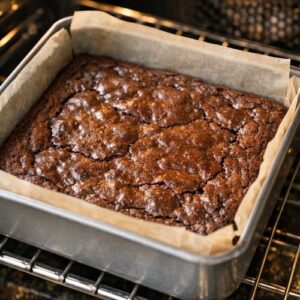
- Place the pan in your preheated oven and set a timer for exactly 15 minutes. Don't skip this timing. At 15 minutes, the brownie surface should look mostly set but still have a slight jiggle in the center when you gently shake the pan. While the brownie bakes, you're going to prepare the cookie dough so it's ready to go immediately when the timer dings.
Step 6: Prepare the Cookie Dough While Brownie Bakes
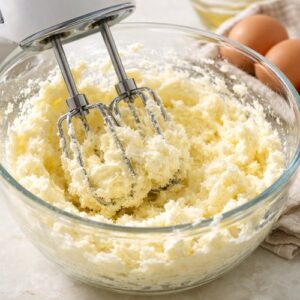
- In a separate bowl, cream together the room-temperature butter and granulated sugar. Beat for about 2 minutes until the mixture looks pale and fluffy. This creaming step is crucial—it incorporates air that helps the cookie layer rise and get crispy edges while staying tender inside. Add the brown sugar and beat for another minute. Then add the egg and vanilla extract, beating until fully combined. In a small bowl, whisk together the flour, baking powder, baking soda, and salt. This pre-mixing prevents pockets of baking soda in your finished cookies. Fold the dry ingredients into the wet ingredients until just combined. Fold in the chocolate chips gently.
Step 7: Top the Brownie with Cookie Dough
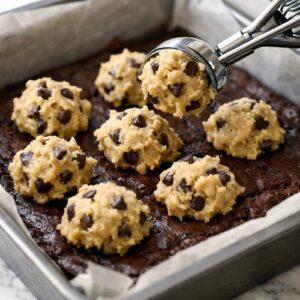
- The moment your brownie base timer dings, pull the pan from the oven. The brownie layer should look set on top but still have a very slight jiggle in the center when you move the pan. This is the exact right moment—not more set, not less set. Dollop spoonfuls of cookie dough evenly over the brownie surface. Don't spread it perfectly smooth—those slight gaps let heat reach the brownie layer, creating better texture integration. Think rustic, not polished. Use a spatula to gently press the cookie dough so it covers most of the brownie surface, leaving tiny gaps. The cookie dough will spread slightly as it bakes.
Step 8: Bake Both Layers Together (25 More Minutes)
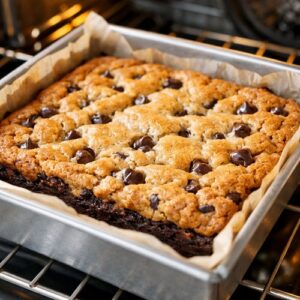
- Return the pan to the oven and bake for 25 more minutes. You're looking for the cookie layer to turn light golden brown on top, and when you tap the surface gently, it should feel set but still have very slight give. Don't overbake this. The cookie layer continues cooking slightly after you remove it from the oven thanks to carryover heat. If it looks fully crispy, you've gone a minute or two too far. At 25 minutes, insert a toothpick into the cookie layer—it should come out with just a few moist crumbs clinging to it, not wet batter.
Step 9: Cool Before Cutting
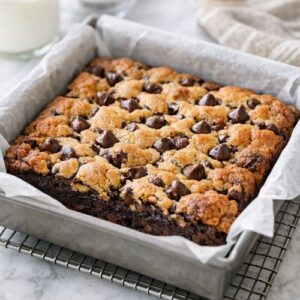
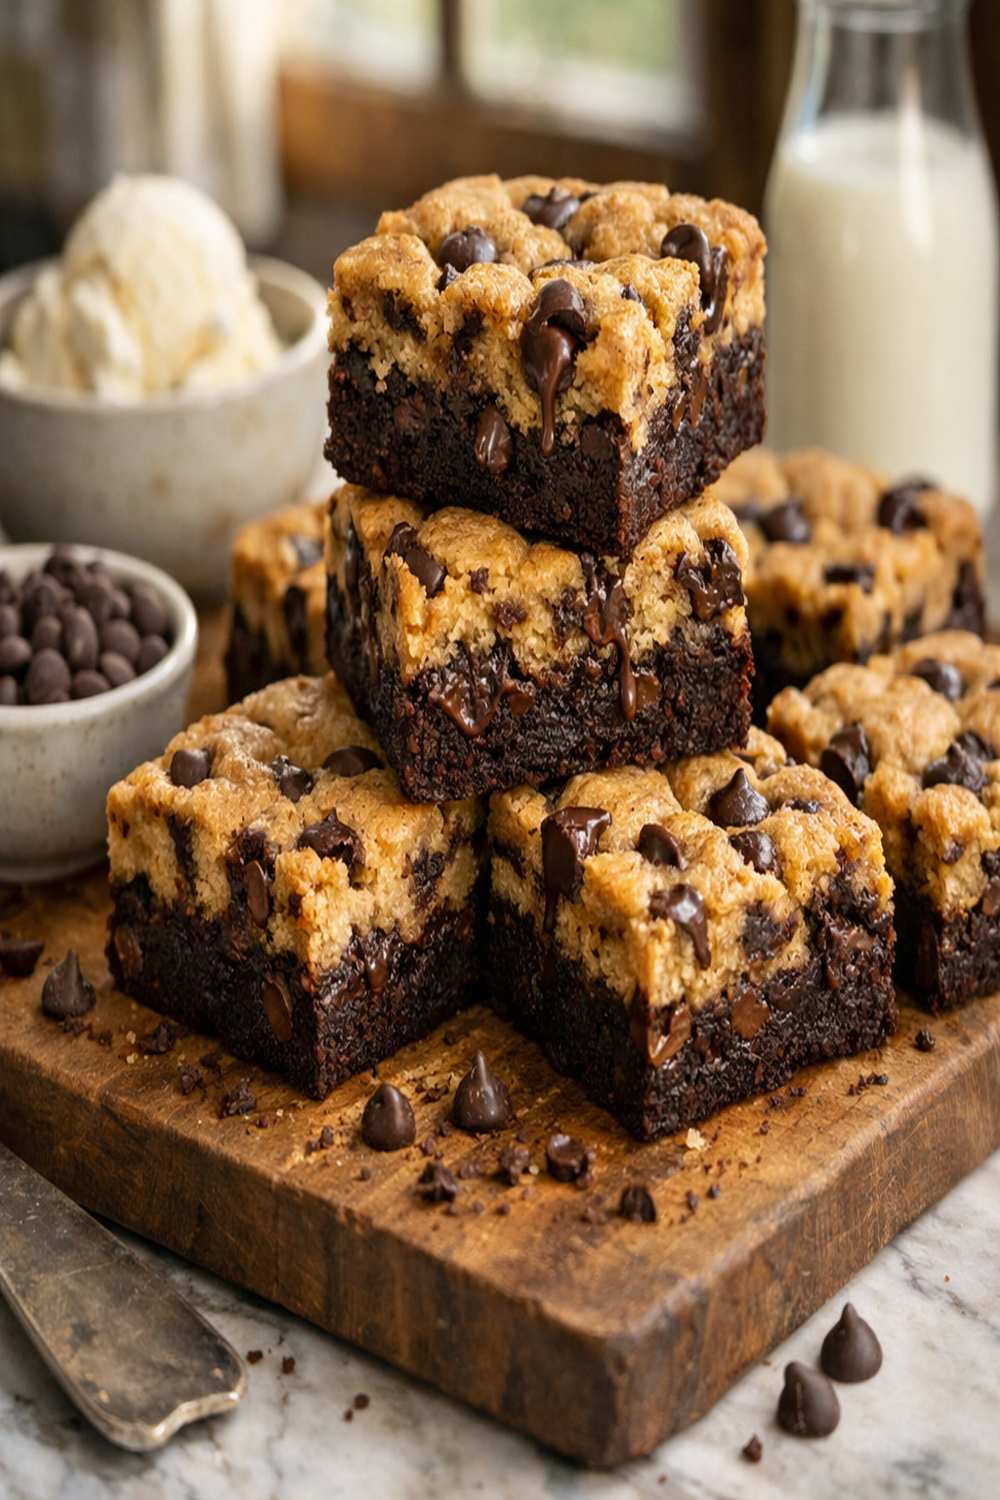
- Remove the pan from the oven and let it cool in the pan for 10 minutes. This allows the layers to set slightly without getting cold and brittle. Use the parchment overhang to lift the entire slab onto a wire cooling rack. Cool completely before cutting—this takes about 1 hour at room temperature, or you can speed it up by putting the pan in the refrigerator for 30 minutes. Once cooled completely, use a sharp knife dipped in hot water (and wiped clean between cuts) to cut into squares. The hot knife prevents the chocolate from dragging and tearing.