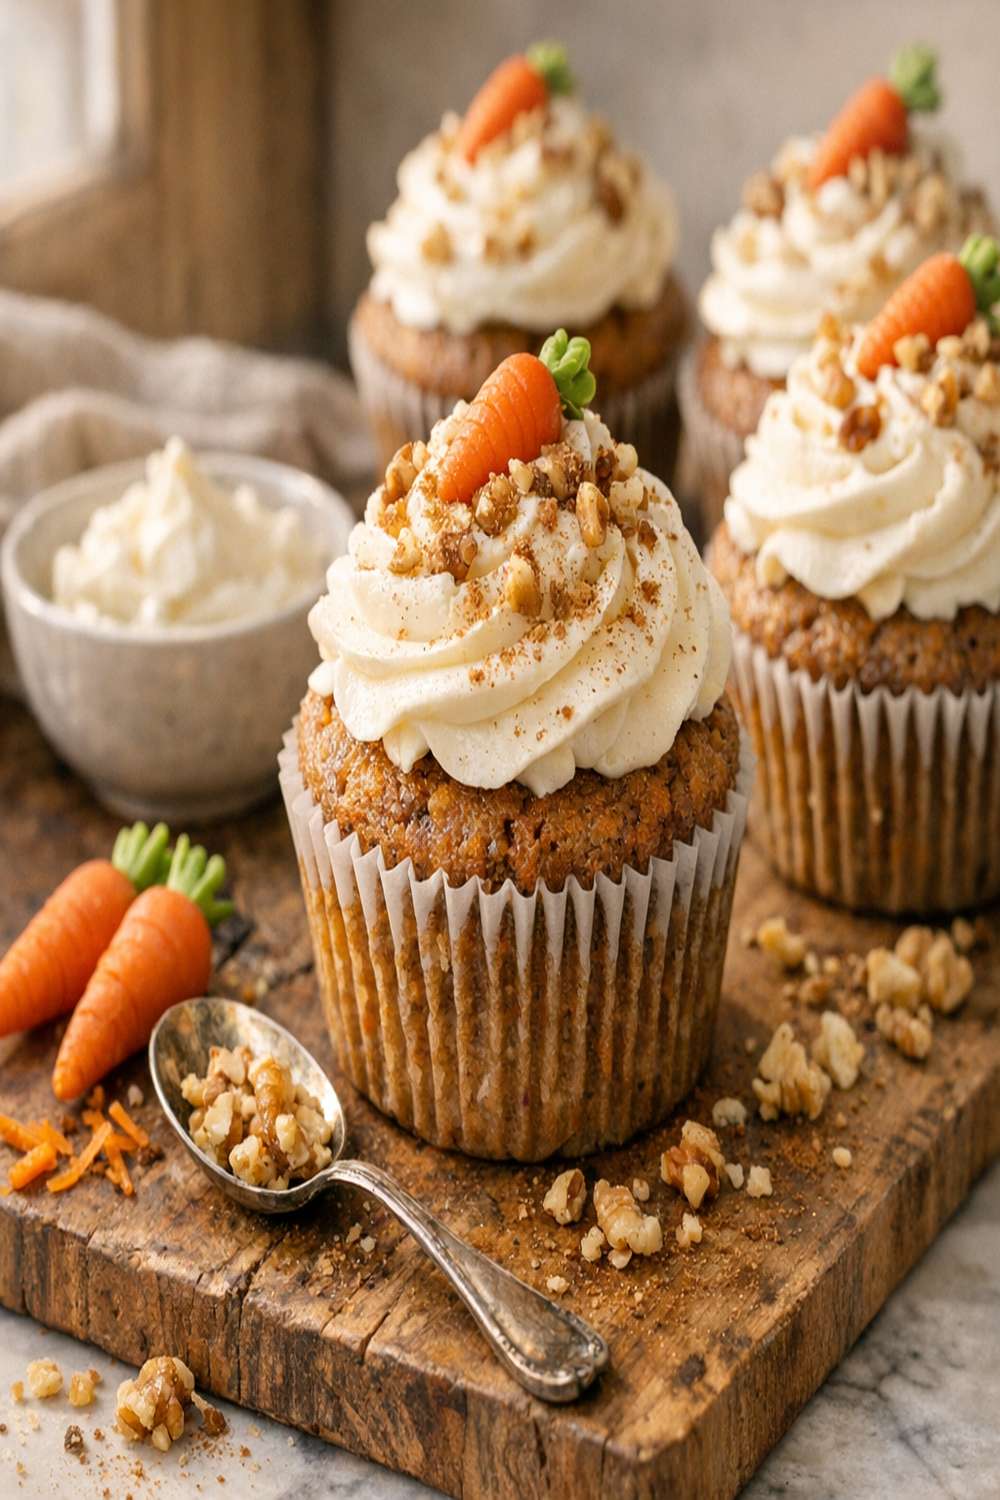

Ingredients
Method
Step 1: Prep Your Station and Preheat the Oven
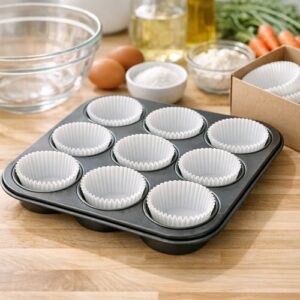
- Preheat your oven to 350°F (175°C). Line a standard 12-cup muffin tin with paper liners. This is where I save money: I buy the bulk box of liners from restaurant supply stores or Costco instead of the tiny grocery store boxes. Same liners, 60% cheaper. If you don't have liners, grease the tin generously with a bit of oil or cooking spray—they'll pop right out if you let them cool first. While the oven heats, gather all your ingredients on the counter. Professional bakers call this "mise en place"—everything in its place. It prevents forgotten ingredients and keeps you moving quickly.
Step 2: Combine Your Dry Ingredients
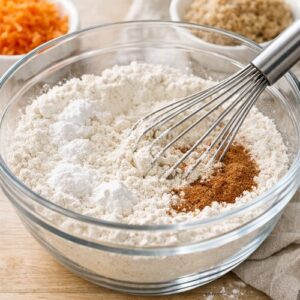
- In a large mixing bowl (or the bowl of a stand mixer if you have one—I use both depending on how many dishes I want to wash), whisk together the flour, both sugars, baking soda, baking powder, salt, cinnamon, and nutmeg. Pro tip from my dietitian background: whisking your dry ingredients for about 30 seconds incorporates air and distributes the leavening agents evenly. This costs nothing but creates a noticeably lighter, more tender crumb. It's the difference between good and restaurant-quality. Make sure your baking soda and baking powder aren't old and stale. Baking soda lasts about 3–5 years; baking powder lasts 6 months to a year. If your baked goods come out dense, expired leavening agents are often the culprit.
Step 3: Create Your Wet Base
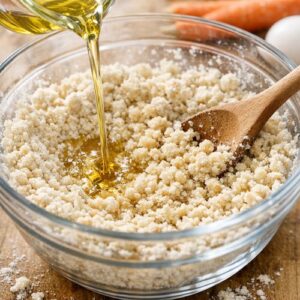
- Pour the oil into your flour mixture and stir until the texture resembles coarse breadcrumbs. Don't overmix—this step should take about 30 seconds of gentle stirring. This technique costs nothing extra but prevents overdeveloped gluten, which leads to tough, dry cupcakes. Crack your room-temperature eggs into a small bowl first (easier to fish out shells). Add them one at a time to your flour-oil mixture, stirring gently after each addition until combined. Pause to scrape down the sides of the bowl with a rubber spatula—make sure you're incorporating the ingredients at the bottom. Stir in your vanilla extract and milk. The milk adds moisture and helps create that tender crumb everyone loves. Don't skip it even though it's only 2 tablespoons.
Step 4: Fold In Your Stars: Carrots and Nuts
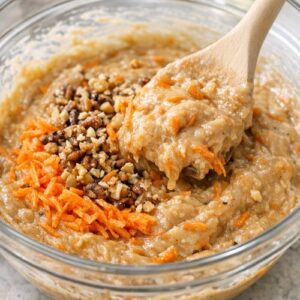
- Now add your freshly grated carrots and toasted nuts (if using). Stir just until combined—you want a few visible carrot shreds in the batter, not a uniform orange paste. This takes about 20 seconds of gentle stirring. Fresh carrots are crucial here. Pre-shredded carrots have added preservatives and oxidize quickly, losing flavor and some nutrients. Fresh carrots grate in 2 minutes and taste noticeably better. If you're using a food processor to shred, pulse gently so you don't end up with carrot juice at the bottom of the bowl. If you're adding coconut, toss it in now. Coconut adds subtle flavor, texture, and actually increases the fiber content slightly.
Step 5: Fill Your Cupcake Liners
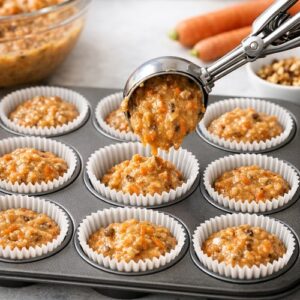
- Using a cookie scoop (costs $3–$5 and eliminates waste from uneven filling) or a spoon, divide the batter evenly among your 12 muffin cups. Fill each liner about ⅔ to ¾ of the way full. This is important: underfilled cupcakes bake too fast and dry out; overfilled ones overflow and create a mess. Money-saving technique: if you have an ice cream scoop, use it to portion. It ensures even cupcakes, which bake in the same amount of time, and reduces guesswork.
Step 6: Bake Until Golden and Set
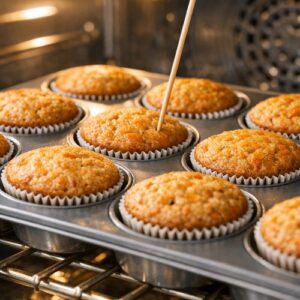
- Transfer your muffin tin to the preheated oven. Bake for 18–22 minutes, until a toothpick inserted in the center comes out clean or with just a few moist crumbs clinging to it. Don't overbake—this is where flavor and moisture live or die. Your cupcakes are ready when they're light golden on top and spring back slightly when you gently press the center. A toothpick should come out with no wet batter, though a few crumbs are perfect. Wet batter means more time; dry means you've crossed the line. Oven temperatures vary, so check at 18 minutes. Better to peek than to pull out dry cupcakes.
Step 7: Cool Properly (This Matters!)
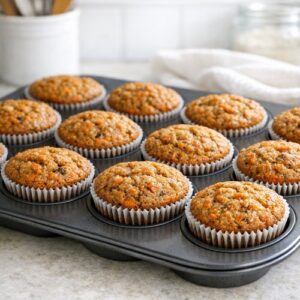
- Let the cupcakes cool in the muffin tin for exactly 5 minutes. This allows them to set enough to handle without falling apart. After 5 minutes, carefully transfer them to a wire cooling rack. Don't skip the cooling rack. If you leave them in the tin too long, residual heat steams them and makes them soggy. If you move them to a plate instead of a rack, the bottoms trap moisture and turn gummy. A cooling rack costs $8–$12 and is one of the best kitchen investments I've made. Let them cool completely—about 45 minutes to an hour—before frosting. Frosting warm cupcakes melts and slides right off.
Step 8: Frost with Cream Cheese Frosting
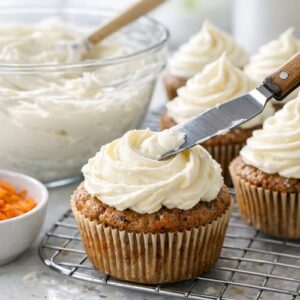
- While cupcakes cool, prepare your frosting. Beat softened cream cheese and butter together in a bowl until light and fluffy, about 2 minutes. Gradually add sifted powdered sugar, vanilla extract, and a pinch of salt. Beat until smooth and spreadable. Pro move: room-temperature cream cheese and butter blend smoothly. Cold cream cheese creates lumps. If you forgot to soften them, cut into small cubes and let sit for 10 minutes. Once your cupcakes are completely cool, frost each one with a thin offset spatula or the back of a spoon. I use about 2 tablespoons of frosting per cupcake, which gives you plenty of coverage without turning them into frosting delivery vehicles.
Notes
- Buy whole carrots from the bulk bin, not pre-shredded bags. Pre-shredded carrots cost nearly triple and oxidize quickly, losing flavor and nutrition. Whole carrots stay fresh for 3 weeks in your crisper drawer. I use my box grater (the flat side is fastest) or a food processor, which takes 60 seconds.
- Purchase raw nuts and toast them yourself. Raw walnuts from the bulk section at Sprouts or Trader Joe's cost $5–$7 per pound. Pre-roasted packaged nuts cost $12–$15 per pound. Toast them in a 350°F oven for 8–10 minutes while your oven preheats for the cupcakes—no extra time, double the savings.
- Choose vegetable or canola oil over butter for this recipe. Oil keeps baked goods moister longer and costs less per ounce than butter. Save butter for your frosting, where you can actually taste it.
- Buy eggs when they're on sale and hard-boil extras for snacks. Room-temperature eggs mix better; I set them out while I gather ingredients, or run them under warm water for 30 seconds.
- Make your own cream cheese frosting rather than buying pre-made. Store-bought frosting is $4–$6 per container. Homemade costs $2 and tastes infinitely better. I'll link my frosting recipe below.
- Stock your spice rack strategically. Cinnamon and nutmeg are used in dozens of recipes. Buy them once in bulk and you're covered for years. Those tiny jars at regular grocery stores are marked up 300%.