
Ingredients
Method
Step 1: Preheat Your Oven and Prepare Your Pan
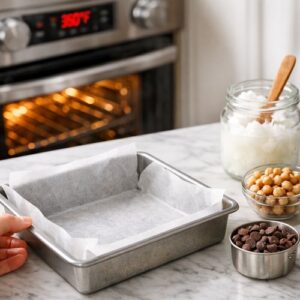
- Set your oven to 350°F and let it preheat for about 5 minutes while you prep. This is important—an oven that's fully preheated means these brownies will bake evenly and won't develop a cakey top. While it's heating, lightly grease an 8x8-inch baking pan with coconut oil or a neutral cooking spray. Chickpea brownies stick less than traditional ones, but a light grease layer is your friend. I sometimes line mine with parchment paper for zero stress at brownie-removal time.
Step 2: Combine Your Wet Ingredients
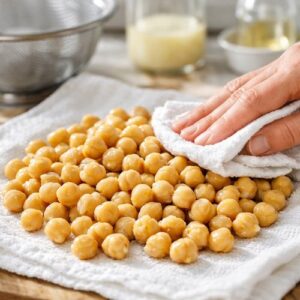
- Drain and rinse your chickpeas thoroughly under cold running water—this removes excess sodium and any "canned" flavor. Pat them dry with a clean kitchen towel or paper towels. This step actually matters; extra moisture creates density you don't want. Add your drained chickpeas to a food processor along with your almond or peanut butter, maple syrup, melted coconut oil, and vanilla extract. Process on high for about 60-90 seconds until the mixture is completely smooth and creamy. You should have no visible chickpea chunks—it should look almost like chocolate mousse. Scrape down the sides with a spatula midway through to ensure everything blends evenly.
Step 3: Add Your Dry Ingredients
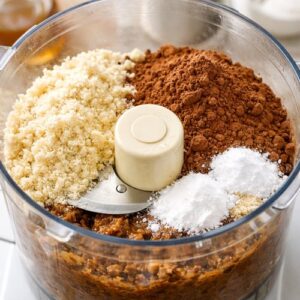
- Keeping the blade in the food processor, add your almond flour, cocoa powder, baking soda, baking powder, and salt all at once. Process for another 45-60 seconds, scraping down the sides as needed, until the mixture is completely smooth with no streaks of cocoa powder visible. This is where your batter transforms into that fudgy texture. The cocoa should be fully incorporated so there are no bitter pockets.
Step 4: Fold in Your Chocolate Chips
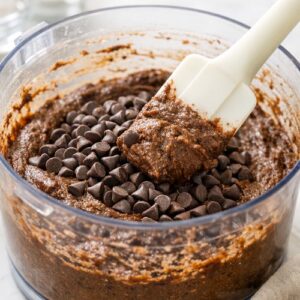
- This step is important, so pay attention: Remove the blade from your food processor and lift off the lid. Using a flexible silicone spatula (not the food processor blade), gently fold your dark chocolate chips into the batter by hand. Fold gently—you want distinct pockets of chocolate throughout, not processed chocolate chips that disappear into the batter. About 30-40 gentle folds should do it. This is the difference between brownies with chocolate texture and brownies that are just chocolate-flavored.
Step 5: Transfer and Top
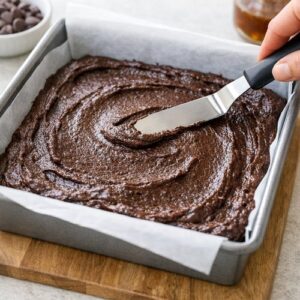
- Pour your batter into your prepared 8x8-inch pan and spread it evenly using an offset spatula or the back of a spoon. The batter will be thick—thicker than traditional brownie batter—which is exactly right. If you want extra chocolate richness (and let's be honest, who doesn't?), sprinkle your additional 2 tablespoons of chocolate chips evenly across the top. Press them down gently so they'll bake into the surface.
Step 6: Bake to Fudgy Perfection
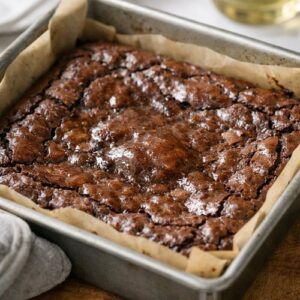
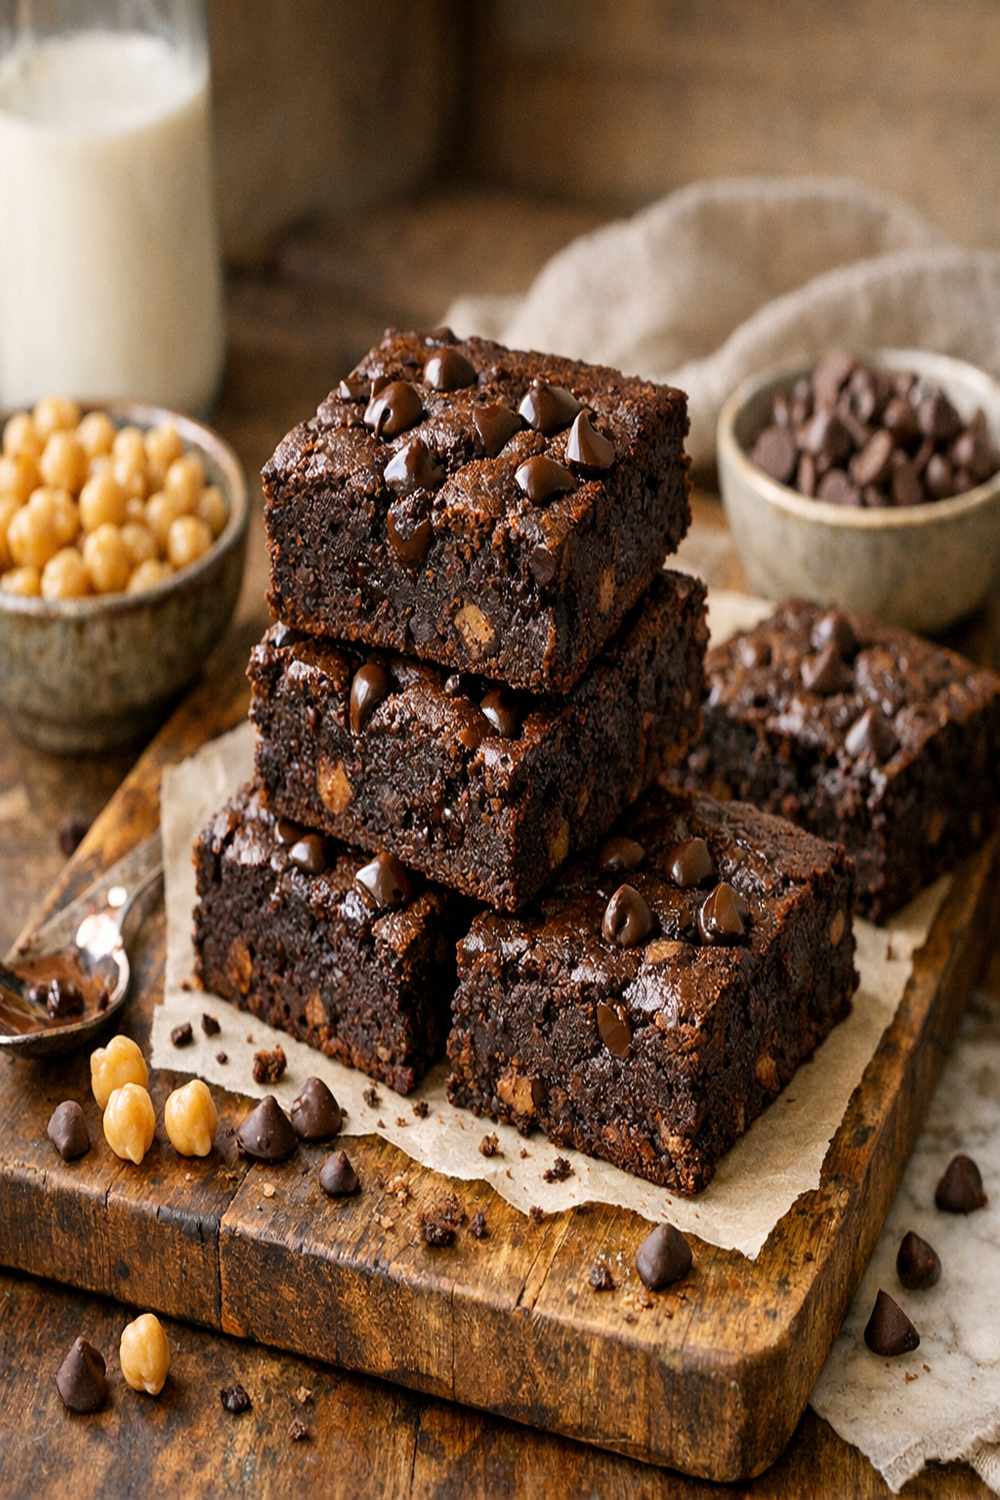
- Bake for 21-23 minutes. I know this is a narrow window, and it matters. At 21 minutes, the center should still have the tiniest jiggle when you shake the pan gently—that's your guarantee of fudgy texture. At 23 minutes, they'll be set but still incredibly moist inside. If you bake beyond 24 minutes, they'll start developing that cake-like structure you don't want. I set my phone timer for 20 minutes, then check visually. The top should look slightly set, and a toothpick inserted in the center should come out with a few moist crumbs clinging to it. Remove from the oven and let cool in the pan for at least 15 minutes before cutting. These brownies are delicate when warm—they need time to set up. Then cut into 16 equal squares and either serve immediately or transfer to an airtight container for storage.