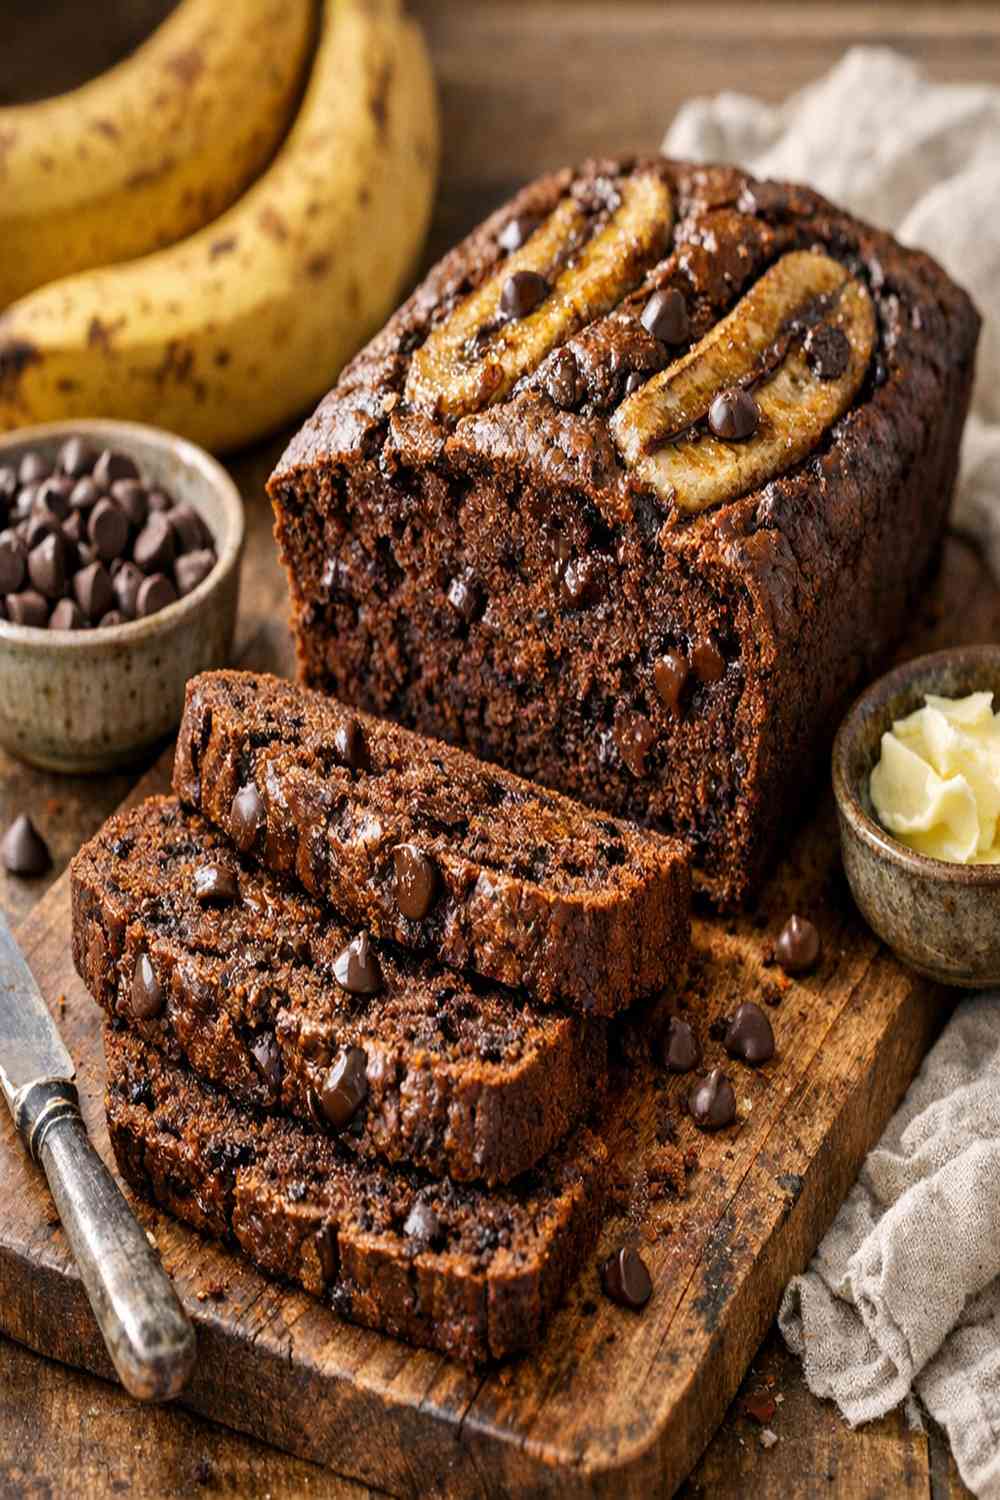

Ingredients
Method
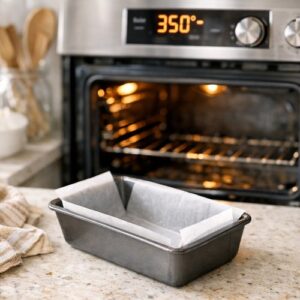
Step 1: Prepare Your Pan and Preheat Your Oven
- Start by heating your oven to 350°F (175°C). This temperature is crucial—too hot and your loaf will brown too quickly on the outside before the inside bakes through; too cool and you'll get a dense, gummy center. While your oven heats, generously coat a 9-by-5-inch loaf pan with nonstick cooking spray or line it with parchment paper. I prefer parchment because it makes removing the loaf cleaner and less stressful. Set it aside on your counter.
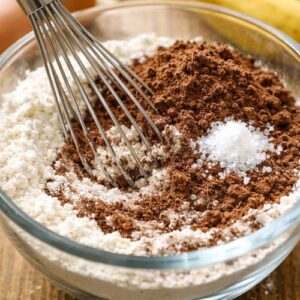
Step 2: Combine All Dry Ingredients
- In a medium mixing bowl, whisk together your flour, Dutch process cocoa powder, baking soda, and sea salt. Whisking is essential here—it breaks up cocoa clumps and distributes the leavening evenly throughout the flour. If you simply stir, you'll end up with dense pockets in your finished loaf. Whisk for about 30 seconds until everything looks evenly combined and you don't see any cocoa streaks. Set this bowl aside; you'll use it in just a moment.
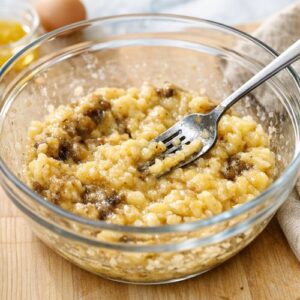
Step 3: Mash Your Bananas and Create Your Wet Base
- In a large bowl, add your three dark brown bananas. Using a fork, mash them until mostly smooth—you want a few tiny chunks remaining for texture, not completely pureed banana paste. Overripe bananas actually mash more easily and create better moisture, which is why I always recommend waiting until they're very dark. Once mashed, add your melted and slightly cooled butter and canola oil to the bananas and stir well to combine. The oil and butter should thoroughly incorporate with the banana. This creates an emulsion that will distribute evenly through your batter. Stir until you have a smooth, slightly glossy mixture.
Step 4: Add Sugar, Egg, and Vanilla
- To your banana mixture, add the packed light brown sugar, your room-temperature egg, and the pure vanilla extract. Stir until the mixture is completely smooth and well combined. This is where the sweetness, structure (from the egg), and vanilla flavor integrate. You should see no streaks of sugar remaining. If your mixture looks a little separated or broken, don't worry—that's normal with the fat content. Just keep stirring until it comes together.
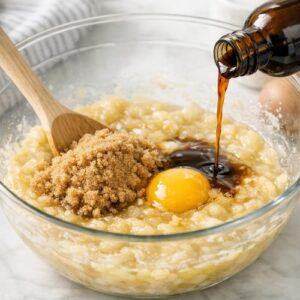
Step 5: Combine Wet and Dry—The Gentle Fold
- This is the most critical step for texture. Pour your dry ingredients into your wet ingredients. Using a rubber spatula or wooden spoon, fold them together with as few strokes as possible. Do not overmix. Overmixing develops gluten, which creates a tough, dense loaf instead of the tender crumb you're after. You want to see just a few streaks of flour remaining—stop there. It should take about 8-10 folds maximum. As soon as the flour is mostly incorporated, fold in ¾ cup of your semisweet chocolate chips. These will distribute throughout the batter and create pockets of chocolate in every slice.
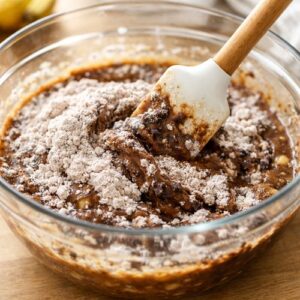
Step 6: Transfer to Pan and Top with Chocolate
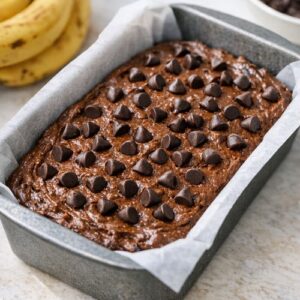
- Pour your batter into your prepared loaf pan, spreading it evenly with a spatula. Scatter the remaining ¼ cup of chocolate chips over the top. These will create a beautiful, rustic appearance and add extra chocolate moments in each bite. They'll partially melt into the top and partially stay intact, which is exactly what you want.
Step 7: Bake Until Set but Not Overdone
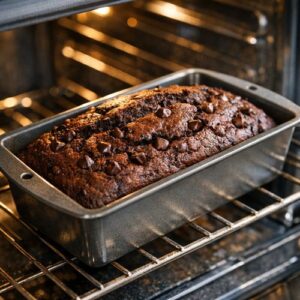
- Place your loaf pan in the preheated oven. Bake for 50 to 65 minutes, depending on your specific oven. Every oven has personality—mine runs about 5 degrees hot, so I check at 50 minutes and pull it out by 55 minutes. Your loaf is done when a toothpick inserted into the center comes out mostly clean. If you get some melted chocolate on the toothpick, that's perfect. You're looking for no wet batter, but you don't want it bone-dry either.
Step 8: Cool Properly for Perfect Texture
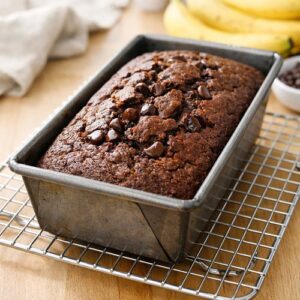
- Remove your pan from the oven and set it on a wire cooling rack. This is important—if you leave it sitting on a hot surface, the residual heat will continue cooking the bottom, potentially making it dry. Let the loaf cool in the pan for 15 minutes. This allows it to set enough to be handled without falling apart, but it's still warm enough to release from the pan easily. After 15 minutes, run a thin knife around the edges of the bread to loosen it, then carefully turn it out onto your cooling rack. Let it cool until it's just slightly warm before slicing. If you slice it while it's piping hot, it will crumble. If you wait until it's completely cool, you lose that wonderful warm-bread experience. Aim for that sweet middle ground—warm enough to enjoy the chocolate melting slightly, cool enough to slice cleanly.
Notes
- Using Bananas That Aren't Ripe Enough - This is the number one mistake. Green or yellow bananas are starchy and mealy, not sweet. You need those nearly-black bananas with a few brown spots. If you're worried they'll go bad, peel them and freeze them whole—they defrost beautifully for banana bread.
- Overmixing the Batter - The moment you see a few streaks of flour remaining, stop. Keep mixing and you'll develop gluten, creating a dense, tough loaf that tastes like dense cake rather than tender bread. Less mixing equals better texture, every single time.
- Opening the Oven Too Early - I know it's tempting to peek, but opening the oven before 45 minutes causes the loaf to fall and become gummy inside. Trust the recipe and the timing. Check only after 50 minutes, and then be gentle with the door.
- Skipping the Cooling Time in the Pan - If you turn it out immediately, it will fall apart. If you wait until completely cool, you miss the warm experience. That 15-minute pan cooling period is the sweet spot that lets you handle it while still enjoying warmth.