

Ingredients
Method
Step 1: Prepare Your Space and Gather Everything
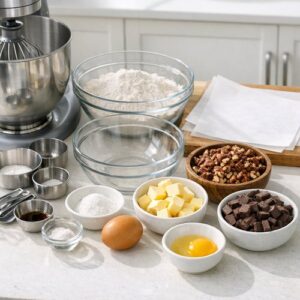
- Before you turn on the oven, set up your entire workspace. I mean everything: mixer, bowls, measuring cups, parchment paper (cut and ready), chocolate chips in a bowl, pecans chopped and waiting. This takes eight minutes and saves 20 minutes of friction while you're mixing. Preheat your oven to 375°F and position racks in the upper-middle and lower-middle positions—you'll bake two batches simultaneously for time efficiency.
Step 2: Cream the Butter and Sugars Until Fluffy
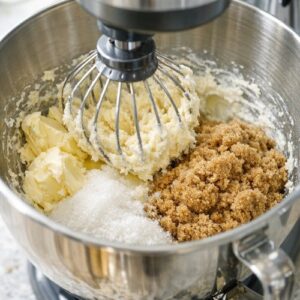
- Place softened butter, granulated sugar, and packed brown sugar into your stand mixer. Beat on medium speed for exactly four minutes. This isn't casual mixing—you're aerating the butter, which creates lift and browning. You should see the mixture transform from dense to light and pale. This step is non-negotiable for texture.
Step 3: Incorporate the Eggs and Vanilla
- Add the four room-temperature eggs, one at a time, beating for 30 seconds between each addition. Then add your vanilla extract. Scrape down the bowl constantly to ensure everything incorporates evenly. The mixture should look creamy and emulsified, not separated or grainy.
Step 4: Mix the Dry Ingredients Together First
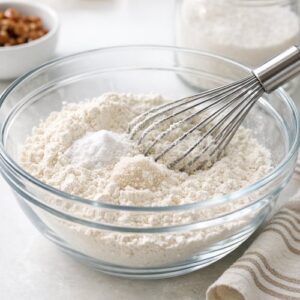
- In a separate bowl, whisk together your flour, baking soda, and salt. Do not skip this step—whisking distributes the leavening evenly, which means every cookie rises consistently. This is especially important when you're baking 48 at once.
Step 5: Combine Wet and Dry Ingredients Gradually
- Reduce the mixer to low speed. Add the dry mixture in four additions, beating briefly after each addition until just combined. This prevents overmixing, which would develop gluten and create tough cookies. Between additions, pause and scrape the bowl to ensure you're not missing flour in the corners.
Step 6: Fold in the Chocolate Chips and Pecans
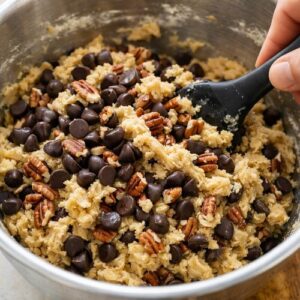
- Remove the bowl from the mixer and fold in your chocolate chips and pecans by hand using a sturdy rubber spatula. This gives you better control and prevents overmixing. If you're doing the optional fleur de sel, sprinkle it now and fold gently to distribute.
Step 7: Refrigerate for 30 Minutes (The Secret Step)
- This is where patience pays off. Cover your dough and refrigerate for 30 minutes minimum. Chilled dough spreads less, stays thicker, and creates that chewy interior with crispy edges that people lose their minds over. I prep my dough Sunday afternoon and bake Sunday evening specifically so it has proper chill time.
Step 8: Scoop and Bake in Batches
- Using a 1-tablespoon cookie scoop (they're inexpensive and create uniform sizes), portion dough onto two lined baking sheets. Space cookies two inches apart—they'll spread. Bake both sheets simultaneously for 10-12 minutes, rotating the pans halfway through. The edges should be golden but the centers still look slightly underbaked. They'll continue cooking on the hot pan.
Step 9: Cool Properly for Best Texture
- Let cookies rest on the baking sheet for five minutes—this allows them to set without hardening. Then transfer to a cooling rack. Cooling properly is what separates chewy cookies from crispy ones. Give them at least 30 minutes on the rack before storage.