This post contains affiliate links. As an Amazon Associate I earn from qualifying purchases.
Listen, I know what it’s like to stand in front of the pantry at 3 PM on a Wednesday, absolutely desperate for something sweet that won’t derail my week. As a busy mom and registered dietitian, I’ve learned that the secret to actually eating well—and enjoying indulgent treats without guilt—is making them myself, in batches. These chocolate chip pecan cookies are my game-changer. Make them once on Sunday afternoon while your family is winding down, and you’ve got grab-and-go moments sorted for days. No processed snacks, no impulse trips to the bakery, just wholesome cookies with real ingredients that actually satisfy.
Chocolate Chip Pecan Cookie Recipe Meal Prep: Cook Once, Eat All Week
I’ll never forget the Tuesday morning I discovered what proper meal prep could do for my sanity. My oldest had a soccer tournament, my youngest needed snacks for school, and I was running on fumes. I’d spent Sunday afternoon baking—not a complicated recipe, just chocolate chip cookies with pecans—and suddenly, when 8 AM chaos hit, I had something real to reach for. No scrambling. No guilt. Just joy on my kids’ faces when they opened their lunch boxes and found a homemade cookie with pecans they actually recognized.
That’s when it clicked: I wasn’t just baking cookies. I was creating peace throughout my entire week. I was controlling what my family ate instead of letting time constraints control our choices. And honestly, as a registered dietitian, I knew exactly what went into each bite—something that felt like a small rebellion against the pre-packaged snack aisle.

Why This Recipe Is Perfect for Meal Prep
- They stay fresh and chewy for 5-7 days when stored properly in an airtight container. No stale cookies by Friday morning—I promise. The brown sugar keeps them moist naturally, and that’s non-negotiable for a recipe this relies on texture.
- You’ll save approximately 45-60 minutes across the week by baking once instead of scrambling to find snacks every single day. One afternoon of mixing, one oven session, and you’re covered.
- They’re endlessly versatile and work beautifully as an afternoon snack, a lunchbox addition, a post-dinner treat, or even crumbled into yogurt or ice cream. That’s five different meals from one Sunday baking session.
Your Weekly Meal Plan With This Recipe
Here’s exactly how I work these cookies into my family’s week without them becoming monotonous. The beauty of a well-made cookie is that the context changes its entire meaning.
- Monday afternoon snack — Two cookies with a glass of cold milk when the kids get home from school. Pairing the chocolate and pecans with dairy creates a more balanced snack that prevents the blood sugar crash.
- Wednesday lunchbox addition — One cookie packed alongside fruit and cheese. It feels special compared to crackers, and my kids actually look forward to opening their containers.
- Thursday morning breakfast boost — One cookie paired with Greek yogurt and berries. This sounds indulgent, but the combination gives you protein, fiber, and a genuine treat that makes mornings feel less rushed.
- Friday evening dessert — A cookie (or two) with a cup of herbal tea while everyone decompresses. It marks the end of the week in a way that feels celebratory without being excessive.
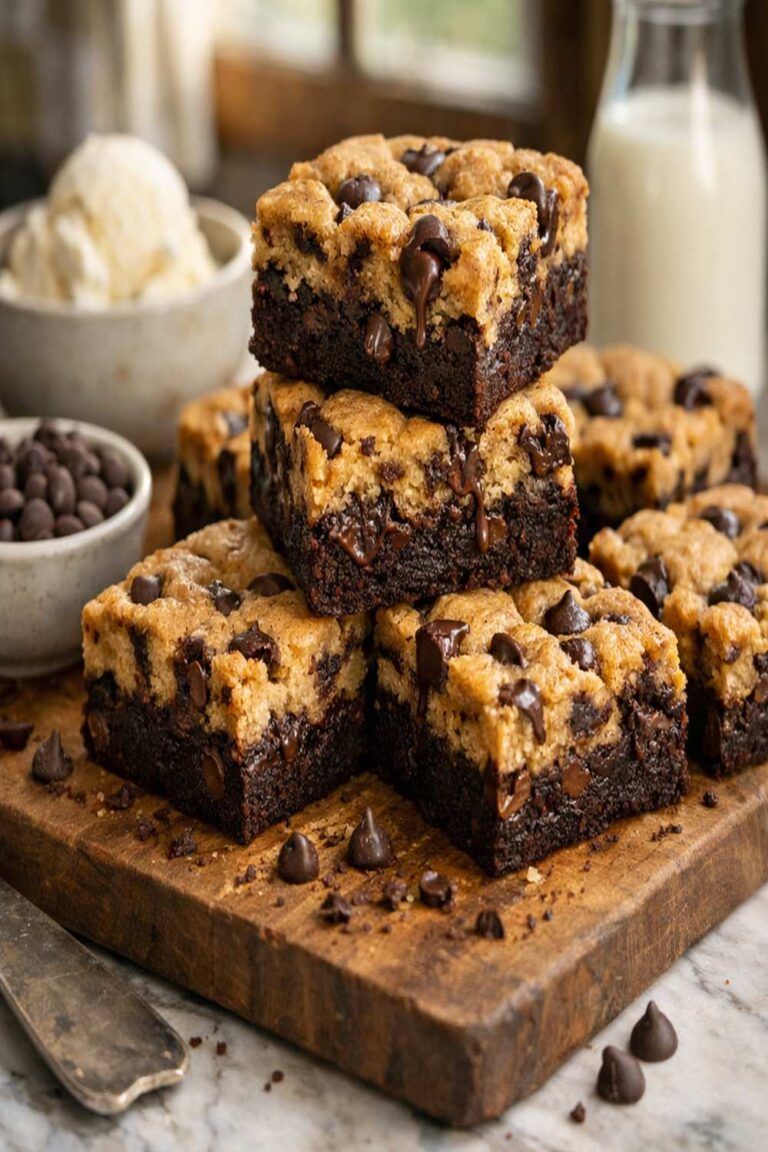
- Sunday preparation — Use remaining cookies as your base for Brookie Recipe – Sweet Mama’s Kitchen if you’re feeling fancy, or simply enjoy them as-is while you prep the next batch.
The Ingredients — Scaled for a Full Week
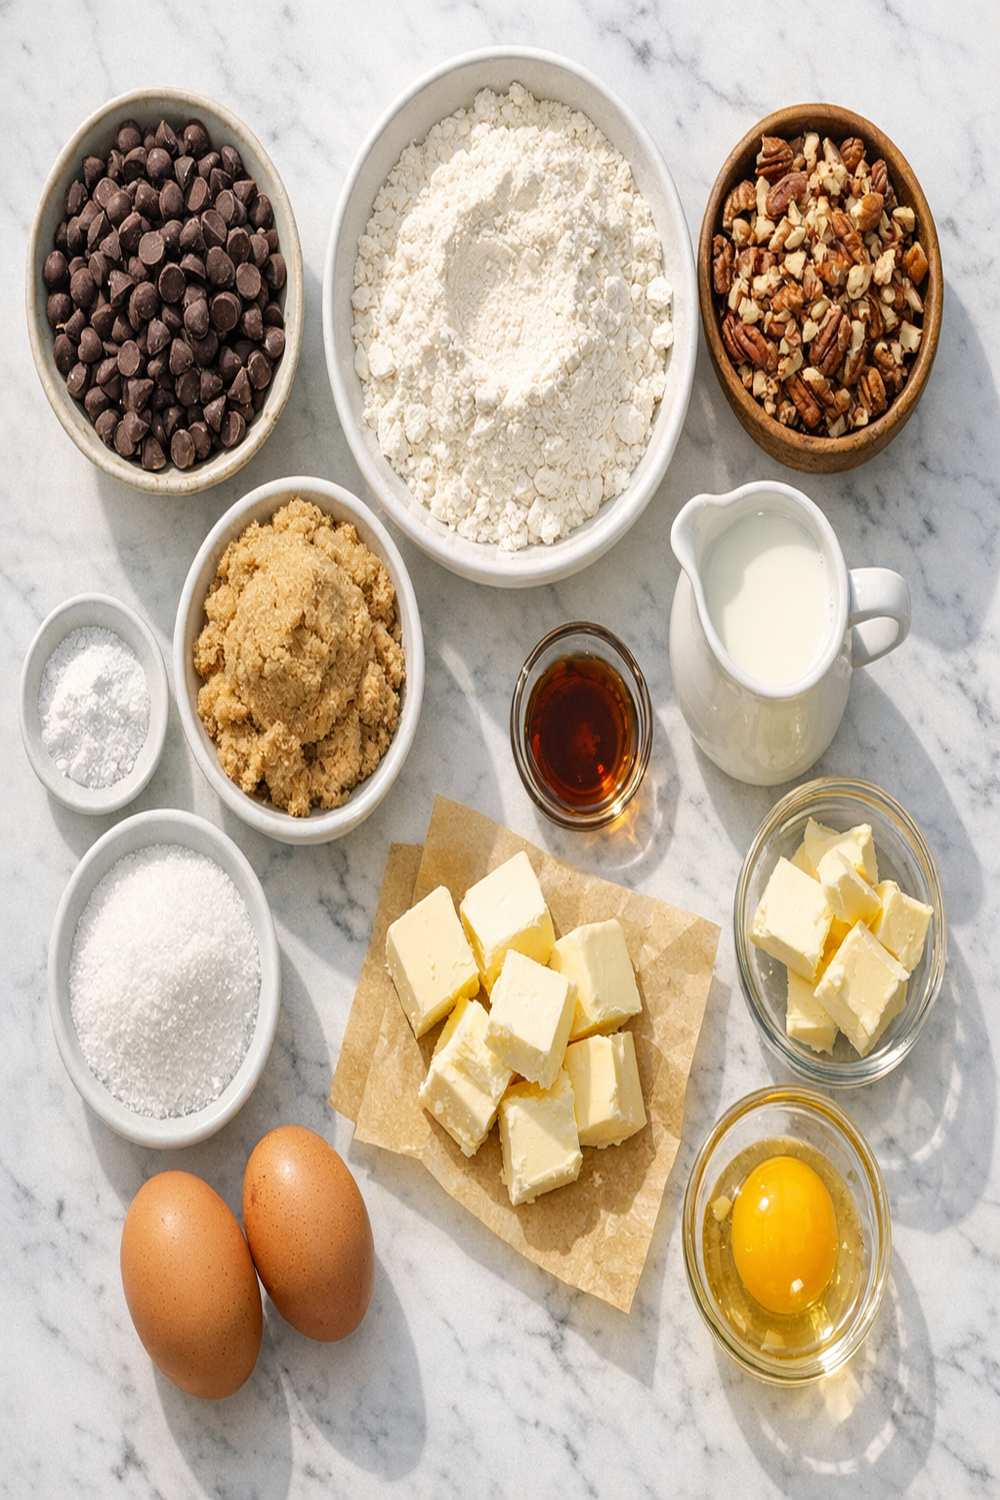
This recipe yields 48 cookies, which is intentional. I’m scaling for a family of four eating across the week with appropriate portions. All ingredients are measured carefully because baking is genuinely a science—something I learned professionally and apply in my kitchen daily.
For the Cookie Base
- 2 cups unsalted butter (room temperature, never melted or cold—this creams properly and creates structure)
- 4 large eggs (room temperature eggs incorporate more smoothly and create better texture)
- 2 teaspoons vanilla extract (pure, not imitation—the flavor difference is worth it)
- ¾ cup packed light brown sugar (the molasses adds chewiness and depth; always pack it firmly)
- ¾ cup granulated sugar (superfine is ideal, but regular granulated works beautifully)
For the Dry Blend
- 2 teaspoons baking soda (this creates the slight spread and chewiness)
- 5 cups all-purpose flour (spoon and level, never packed, for accurate measurements)
- 2 teaspoons fine sea salt (enhances chocolate flavor and balances sweetness)
For the Mix-Ins
- 4 cups semi-sweet chocolate chips (I use California-sourced when possible; look for 55-60% cacao)
- 1 teaspoon fleur de sel (optional but transforms the cookies with a subtle salted finish)
- 2 cups raw pecans, coarsely chopped (toasting them first deepens the flavor—a pro move)
The Meal Prep Process: How to Make Chocolate Chip Pecan Cookies in Bulk
Baking 48 cookies feels overwhelming until you treat it as a system. I’m going to walk you through this exactly as I do it on Sunday mornings—efficiently, without stress, and in a way that fits into real life.
Step 1: Prepare Your Space and Gather Everything
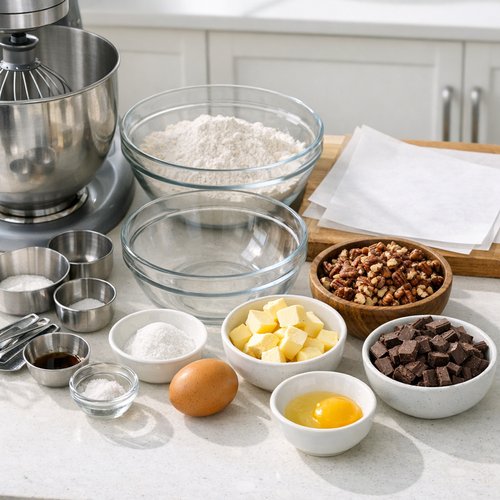
Before you turn on the oven, set up your entire workspace. I mean everything: mixer, bowls, measuring cups, parchment paper (cut and ready), chocolate chips in a bowl, pecans chopped and waiting. This takes eight minutes and saves 20 minutes of friction while you’re mixing. Preheat your oven to 375°F and position racks in the upper-middle and lower-middle positions—you’ll bake two batches simultaneously for time efficiency.
Step 2: Cream the Butter and Sugars Until Fluffy
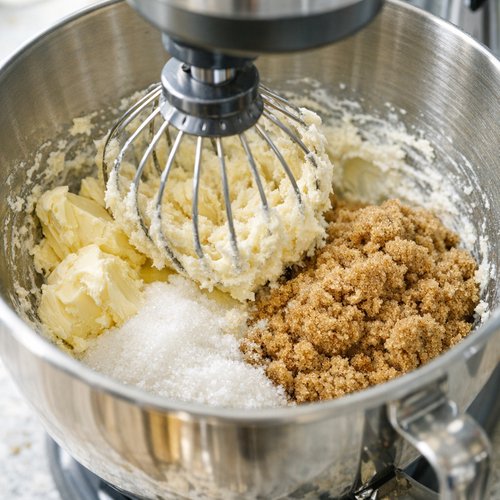
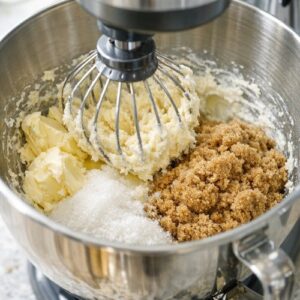
Place softened butter, granulated sugar, and packed brown sugar into your stand mixer. Beat on medium speed for exactly four minutes. This isn’t casual mixing—you’re aerating the butter, which creates lift and browning. You should see the mixture transform from dense to light and pale. This step is non-negotiable for texture.
Step 3: Incorporate the Eggs and Vanilla
Add the four room-temperature eggs, one at a time, beating for 30 seconds between each addition. Then add your vanilla extract. Scrape down the bowl constantly to ensure everything incorporates evenly. The mixture should look creamy and emulsified, not separated or grainy.
Step 4: Mix the Dry Ingredients Together First
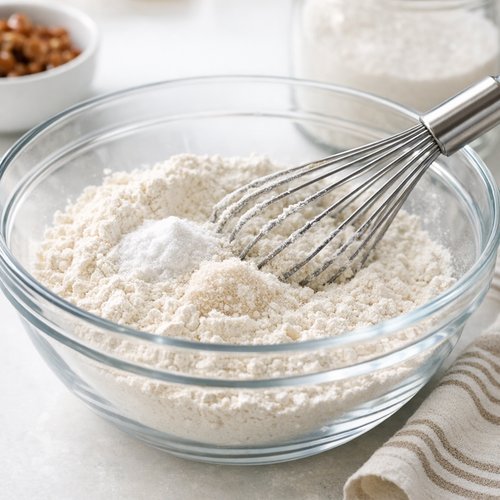
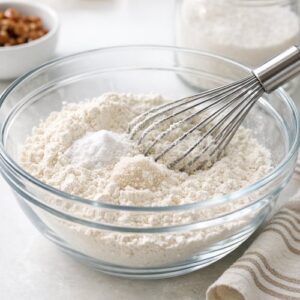
In a separate bowl, whisk together your flour, baking soda, and salt. Do not skip this step—whisking distributes the leavening evenly, which means every cookie rises consistently. This is especially important when you’re baking 48 at once.
Step 5: Combine Wet and Dry Ingredients Gradually
Reduce the mixer to low speed. Add the dry mixture in four additions, beating briefly after each addition until just combined. This prevents overmixing, which would develop gluten and create tough cookies. Between additions, pause and scrape the bowl to ensure you’re not missing flour in the corners.
Step 6: Fold in the Chocolate Chips and Pecans
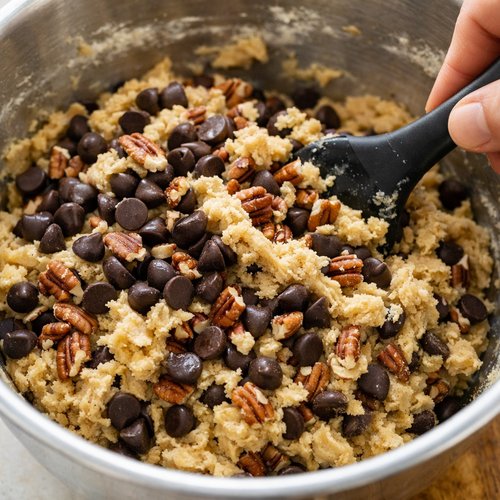
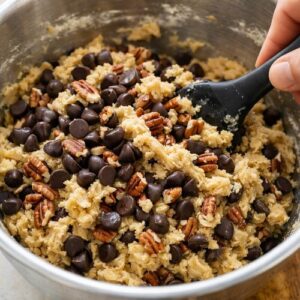
Remove the bowl from the mixer and fold in your chocolate chips and pecans by hand using a sturdy rubber spatula. This gives you better control and prevents overmixing. If you’re doing the optional fleur de sel, sprinkle it now and fold gently to distribute.
Step 7: Refrigerate for 30 Minutes (The Secret Step)
This is where patience pays off. Cover your dough and refrigerate for 30 minutes minimum. Chilled dough spreads less, stays thicker, and creates that chewy interior with crispy edges that people lose their minds over. I prep my dough Sunday afternoon and bake Sunday evening specifically so it has proper chill time.
Step 8: Scoop and Bake in Batches
Using a 1-tablespoon cookie scoop (they’re inexpensive and create uniform sizes), portion dough onto two lined baking sheets. Space cookies two inches apart—they’ll spread. Bake both sheets simultaneously for 10-12 minutes, rotating the pans halfway through. The edges should be golden but the centers still look slightly underbaked. They’ll continue cooking on the hot pan.
Step 9: Cool Properly for Best Texture
Let cookies rest on the baking sheet for five minutes—this allows them to set without hardening. Then transfer to a cooling rack. Cooling properly is what separates chewy cookies from crispy ones. Give them at least 30 minutes on the rack before storage.
Storage and Organization System
- Airtight glass containers with silicone seals — I use these instead of plastic because they actually maintain freshness. Layer cookies with parchment paper to prevent sticking, and they’ll stay at peak texture for 5-7 days on the counter.
- Portion into individual servings immediately — Instead of storing one massive container, divide into smaller portions (two cookies per portion in small containers or bags). This prevents opening and closing one big container repeatedly, which compromises freshness for cookies waiting at the bottom.
- Label with date and type — Use a simple label maker or masking tape: “Chocolate Chip Pecan Cookies—Baked [Date].” This takes ten seconds and ensures you’re eating them in the right order while they’re best.
How to Reheat Without Losing Quality
Here’s what I’ve learned after years of baking: cookies don’t really need reheating if stored properly. They maintain perfect texture at room temperature for a week. However, if your cookies have been sitting in the fridge or you prefer them warm:
For that fresh-from-the-oven warmth: Place two cookies on a microwave-safe plate and microwave for 10-15 seconds. This restores the slightly warm, chewy texture without drying them out. Don’t exceed 20 seconds or you’ll lose the soft center.
For a batch you’re serving guests: Place cookies on a baking sheet and warm in a 300°F oven for exactly 5 minutes. This gently restores warmth and freshness without browning or hardening.
Stovetop revival method: If cookies have truly gotten hard (which rarely happens), place one in a skillet over low heat for 10 seconds per side. The moisture from the cookie itself will rehydrate it slightly. It’s not dramatic, but it works.
Can I Freeze Chocolate Chip Pecan Cookies?
Yes, and this is genuinely game-changing for meal prep planning. You can freeze baked cookies for up to three months if properly stored. Here’s my system:
Cool cookies completely, then layer them in a freezer-safe container with parchment between each layer. Add a piece of paper on top with the baking date. When you need a quick snack, simply pull out what you need and let it thaw at room temperature for 15-20 minutes. The cookie thaws to perfect texture—soft, chewy, completely normal-tasting. No ice crystals, no degradation.
I also freeze dough portions. Scoop your dough into individual portions, flash-freeze on a baking sheet for two hours, then transfer to a freezer bag. Label with the date. From frozen, they bake in exactly 13-14 minutes at 375°F—no thawing needed. This is my secret weapon for having fresh-from-the-oven cookies mid-week without the full baking session.
Nutrition Information
Per cookie (based on 48 servings): approximately 210 calories, 12g fat, 25g carbohydrates, 3g protein, and 1.2g fiber. This assumes semi-sweet chocolate chips (55% cacao) and raw pecans.
From a registered dietitian perspective, what excites me about these cookies is the nutrient density. Pecans provide heart-healthy monounsaturated fats and minerals like manganese and copper. Chocolate contains polyphenols and antioxidants—particularly if you choose higher-cacao chips. When you compare a homemade cookie to a mass-produced version, you’re looking at real butter (with fat-soluble vitamins), whole eggs (choline for brain health), and actual chocolate instead of chocolate-flavored compounds.
According to USDA data, consuming pecans regularly is associated with improved cholesterol profiles and sustained energy. The refined sugar is offset by the fiber and protein, creating a snack that satisfies without causing dramatic blood sugar spikes—something I specifically recommend to clients looking to maintain steady energy throughout the day.
What to Pair With Chocolate Chip Pecan Cookies Throughout the Week
A cookie doesn’t exist in isolation, and how you pair it completely changes its nutritional impact and how satisfying it feels. Here’s my approach to keeping them interesting and balanced across the week:
- Monday pairing: Cold milk and berries — The calcium and protein from milk balances the sugar, while berries add fiber and antioxidants. This is a perfect 3 PM snack when energy dips.
- Wednesday pairing: Greek yogurt and honey — Crumble a cookie into plain Greek yogurt with a drizzle of honey and you’ve created a completely different experience. It’s breakfast-appropriate, protein-rich, and feels indulgent.
- Thursday pairing: Apple slices and almond butter — The tartness of apple cuts through chocolate richness, and nut butter adds staying power. This is genuinely satisfying.
- Friday pairing: A cup of tea or coffee — My favorite way to enjoy these. Chamomile, herbal tea, or a really good espresso transforms a cookie into a moment, not just a snack. Sometimes simple is best.
- Sunday pairing: With Apple Cider Recipe — If you’re craving a cozy moment, warm spiced cider with a cookie creates an experience that feels seasonal and intentional, even if it’s just Tuesday.
Expert’s Nutritional Insight: Why Toasting Your Pecans Changes Everything
Here’s something I mention to clients constantly: the flavor compounds in pecans are activated by heat. Toasting them before chopping releases oils and deepens the taste profile. From a nutrition standpoint, you’re not changing the macros significantly, but you’re increasing the bioavailability of certain minerals like zinc and enhancing the antioxidant capacity.
More importantly for meal prep: toasted pecans stay fresher longer because the heat kills surface bacteria. This means your cookies maintain quality even at day six or seven. Spread raw pecans on a sheet pan at 350°F for 8-10 minutes, cool completely, then chop. It’s one step that seems optional but absolutely transforms both flavor and longevity.
Make-Ahead Guide: Planning Your Week Around These Cookies
Saturday evening: Chop pecans, measure dry ingredients, bring butter to room temperature. Place ingredients in labeled containers in your fridge so Sunday morning feels smooth.
Sunday morning: Cream butter and sugars while your coffee brews. Mix in eggs and vanilla. Add dry ingredients. Fold in chocolate and pecans. Cover and refrigerate while you do something else—this is built-in buffer time.
Sunday afternoon: Preheat oven, scoop dough, bake two batches. Cool on racks while you prep other meals. This takes about one hour total of active time.
Sunday evening: Divide cooled cookies into individual portions. Label containers. Stack in your pantry at eye level so grab-and-go actually happens.
Throughout the week: Pull portions as needed. Consume at room temperature or gently warm. Replace containers once empty (you’ll have exactly enough for the week).
Common Mistakes to Avoid
Melting the butter instead of creaming it: I see this constantly, and it ruins the entire structure. Melted butter can’t incorporate air, so your cookies spread too thin and bake flat. Room temperature butter is non-negotiable. If your kitchen is cold, sit the bowl over warm (not hot) water for two minutes, but never microwave.
Skipping the flour whisking step: Adding flour directly from the bag without whisking means some areas have double the baking soda, creating cookies that spread unevenly and taste slightly metallic in those pockets. Whisking takes 90 seconds and prevents this entirely.
Baking immediately instead of chilling: I understand the impulse. You just want cookies. But unchilled dough spreads into flat discs instead of creating that perfect chewy-centered structure. The 30-minute chill is when the magic happens—flour hydrates, flavors meld, and dough becomes coherent.
Opening the oven door at 8 minutes: Don’t do this. Trust the process. The cookies continue cooking from oven heat even after removal. Peeking causes temperature fluctuations and uneven baking. Set a timer and don’t touch them until it goes off.
Seasonal Variations: Adapting This Recipe Year-Round
Spring/Summer twist: Replace half the pecans with toasted pistachios and add the zest of one lemon to the wet ingredients. The brightness feels seasonal and surprisingly delicious with chocolate.
Fall adaptation: Add one teaspoon of cinnamon and ½ teaspoon of nutmeg to your dry ingredients. Use 3 cups chocolate chips and 1 cup chopped toasted pecans mixed with 1 cup chopped dried cranberries. This feels like autumn in cookie form.
Winter version: Add ½ teaspoon of peppermint extract to the vanilla and use dark chocolate chips (70% cacao). Sprinkle crushed candy canes on top after baking while chocolate is still warm. It’s festive without being over-the-top.

Chocolate Chip Pecan Cookie Recipe
Ingredients
Method
- Before you turn on the oven, set up your entire workspace. I mean everything: mixer, bowls, measuring cups, parchment paper (cut and ready), chocolate chips in a bowl, pecans chopped and waiting. This takes eight minutes and saves 20 minutes of friction while you're mixing. Preheat your oven to 375°F and position racks in the upper-middle and lower-middle positions—you'll bake two batches simultaneously for time efficiency.
- Place softened butter, granulated sugar, and packed brown sugar into your stand mixer. Beat on medium speed for exactly four minutes. This isn't casual mixing—you're aerating the butter, which creates lift and browning. You should see the mixture transform from dense to light and pale. This step is non-negotiable for texture.
- Add the four room-temperature eggs, one at a time, beating for 30 seconds between each addition. Then add your vanilla extract. Scrape down the bowl constantly to ensure everything incorporates evenly. The mixture should look creamy and emulsified, not separated or grainy.
- In a separate bowl, whisk together your flour, baking soda, and salt. Do not skip this step—whisking distributes the leavening evenly, which means every cookie rises consistently. This is especially important when you're baking 48 at once.
- Reduce the mixer to low speed. Add the dry mixture in four additions, beating briefly after each addition until just combined. This prevents overmixing, which would develop gluten and create tough cookies. Between additions, pause and scrape the bowl to ensure you're not missing flour in the corners.
- Remove the bowl from the mixer and fold in your chocolate chips and pecans by hand using a sturdy rubber spatula. This gives you better control and prevents overmixing. If you're doing the optional fleur de sel, sprinkle it now and fold gently to distribute.
- This is where patience pays off. Cover your dough and refrigerate for 30 minutes minimum. Chilled dough spreads less, stays thicker, and creates that chewy interior with crispy edges that people lose their minds over. I prep my dough Sunday afternoon and bake Sunday evening specifically so it has proper chill time.
- Using a 1-tablespoon cookie scoop (they're inexpensive and create uniform sizes), portion dough onto two lined baking sheets. Space cookies two inches apart—they'll spread. Bake both sheets simultaneously for 10-12 minutes, rotating the pans halfway through. The edges should be golden but the centers still look slightly underbaked. They'll continue cooking on the hot pan.
- Let cookies rest on the baking sheet for five minutes—this allows them to set without hardening. Then transfer to a cooling rack. Cooling properly is what separates chewy cookies from crispy ones. Give them at least 30 minutes on the rack before storage.
FAQs
Can I double this recipe and bake even more at once?
Yes, absolutely. I regularly triple it for parties or serious meal prep. Just keep mixing in batches—trying to mix 15 cups of flour at once breaks most home stand mixers. Prepare the butter mixture, then do the dry ingredients in two batches, combining them in a large bowl at the end. Bake multiple batches in sequence. This is when having two oven racks working simultaneously becomes your best friend.
What if I don’t have a stand mixer?
A hand mixer works beautifully—it just takes 6-7 minutes instead of 4 for creaming because you’re providing the physical effort. Alternatively, cream by hand with a sturdy wooden spoon and serious elbow grease (genuinely works, just takes patience). The important part is achieving that light, fluffy texture, not the tool you use.
Can I substitute the pecans with other nuts?
Completely. Walnuts, almonds, macadamia nuts, or a combination all work wonderfully. Toast them the same way. Keep the amount at 2 cups total. Each nut brings its own flavor—walnuts are earthier, almonds are sweeter, macadamia nuts are buttery. All are delicious with chocolate.
How do I prevent cookies from spreading too much?
This comes down to dough temperature and oven accuracy. Use a thermometer to verify your oven is truly 375°F (many run hot). Ensure dough is properly chilled. Use parchment paper instead of bare baking sheets—it creates a cooler surface that slows spreading. If you’re still having issues, your butter might have been too warm to begin with.
What’s the difference between baking soda and baking powder here?
This recipe specifically uses baking soda because it reacts immediately with the acidic elements (brown sugar, eggs) and creates that beautiful golden-brown exterior and slight spread. Baking powder would create a cake-like texture and wouldn’t brown as beautifully. They’re not interchangeable in this application.
More Recipes You’ll Love
- these homemade cookies — A slightly different approach if you want to explore pecan variations
- Brookie Recipe – Sweet Mama’s Kitchen — The perfect way to use leftover cookies as a base for something even more indulgent
- Blueberry Cream Cheese Recipe – Sweet Mama’s Kitchen — A different dessert option when you want to switch up your meal prep
The Gift of Intentional Eating
When I started meal prepping properly—not as a restrictive diet thing, but as a way to care for my family through food—everything shifted. My kids actually wanted to eat what I’d prepared. My partner stopped reaching for drive-through options when we both knew there were homemade cookies waiting. I stopped feeling guilty about treats because I was in control of what they contained.
These chocolate chip pecan cookies have become part of my system. They’re proof that indulgence and intentionality aren’t opposites. That a busy mom can absolutely have fresh, wholesome snacks on hand without spending hours each day baking. That planning ahead is actually freedom, not restriction.
This Sunday, set aside one afternoon. Mix, scoop, bake. Create the structure that lets you make better choices throughout your entire week without stress or scrambling. Your future self—the one facing the 3 PM hunger crash or the desperate search for something to pack in lunch boxes—will be deeply grateful.
Happy cooking!