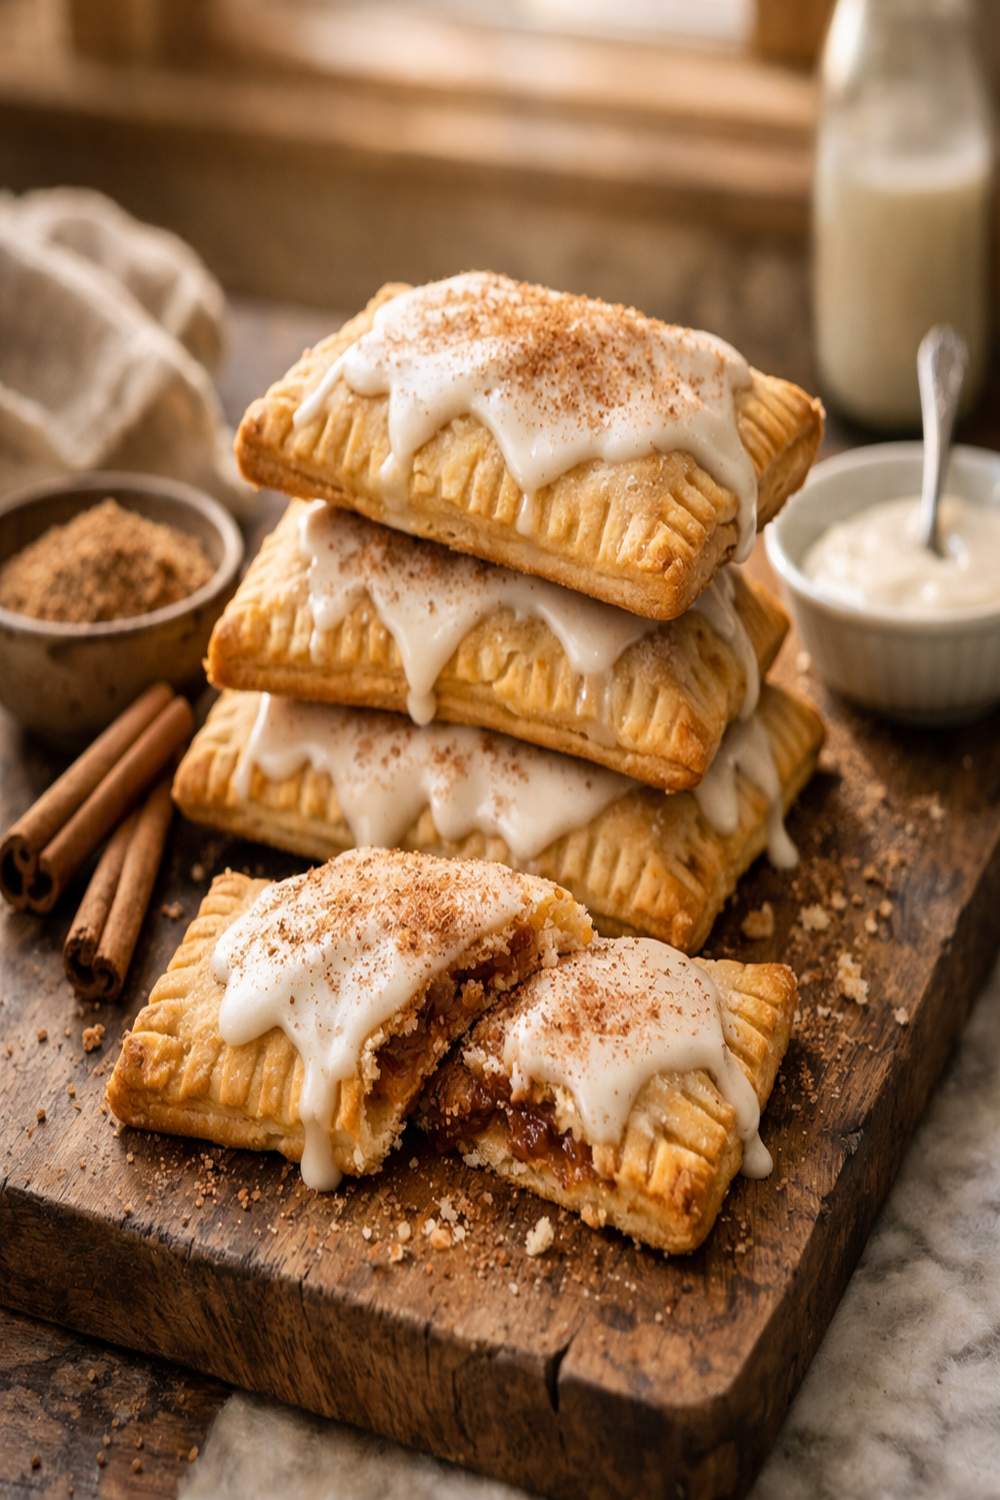

Ingredients
Method
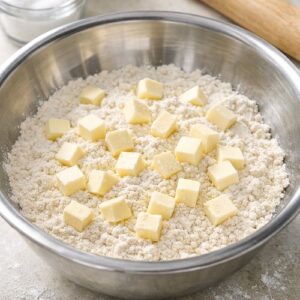
Step 1: Build Your Dough Foundation with Cold Butter Distribution
- In a large bowl, whisk together your flour, sugar, and salt until completely combined. This uniform distribution ensures even seasoning throughout your dough. Now for the most important part: cutting in the cold butter. Working quickly so the butter stays cold, use a pastry cutter, two forks, or your fingertips to break the chilled butter cubes into increasingly smaller pieces mixed throughout the flour. You're aiming for a texture that resembles coarse breadcrumbs or wet sand—you want pea-sized and slightly larger pieces of butter visible throughout, not a smooth paste. This takes about 5-7 minutes by hand. If you use a food processor (which I do when I'm short on time), pulse the mixture 8-10 times, stopping frequently to check the texture. Over-processing is the enemy here—it blends the butter too smoothly and you lose those precious fat pockets.
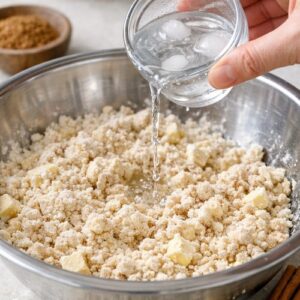
Step 2: Hydrate Gradually—The Most Critical Step
- Here's where many home bakers make their first mistake: adding all the water at once. Instead, drizzle your ice water over the flour mixture one tablespoon at a time, stirring gently with a spatula after each addition. Watch for large clumps to form, but don't stir them into a unified dough. The dough should look somewhat shaggy and underdeveloped—almost like it's not quite ready. This is perfect. You're stopping before you think you should, which means you're stopping at exactly the right moment. If your dough is too dry and crumbly to hold together, dip your fingers in cold water and gently bring it together. If it feels sticky, sprinkle a tiny bit more flour and continue gathering it. The total liquid needed is usually ½ cup, but humidity varies, so trust the feel over a rigid measurement.
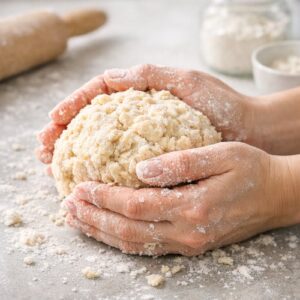
Step 3: Develop Minimal Gluten Through Gentle Handling
- Transfer your shaggy dough to a lightly floured work surface. Using your floured hands, gently bring the dough together into a rough ball. This is not the time to knead or work the dough—resist that urge. You're simply bringing the pieces together enough to hold their shape. It's okay if it looks slightly rough and underdeveloped. Using a sharp knife or bench scraper, cut the dough in half, then gently press each half into a disc about 1 inch thick. Wrap each disc tightly in plastic wrap and refrigerate for at least 2 hours, or up to 5 days. You can also freeze for up to 3 months. This resting period is crucial—it allows the gluten to relax and the flour to fully hydrate, making the dough easier to roll and less likely to shrink in the oven.
Step 4: Roll with Confidence—All About Control
- Remove one chilled dough disc from the refrigerator and let it sit at room temperature for exactly 5 minutes. This slight warming makes it pliable enough to roll without cracking. Place the disc on a lightly floured work surface—and here's a pro tip: flour your rolling pin, not just the surface, to prevent sticking without incorporating excess flour into your dough. Roll the dough into a 9×12-inch rectangle, about ⅛ inch thick. Use a ruler to ensure accuracy, and trim the edges with a sharp knife or pizza cutter so they're clean and straight. This matters not just for appearance—even edges help the dough cook uniformly. Cut the dough into thirds (three 3×12-inch strips), then cut each strip into thirds again, creating nine 3×4-inch rectangles. Place these on a parchment-lined baking sheet and refrigerate while you repeat with the second dough disc.
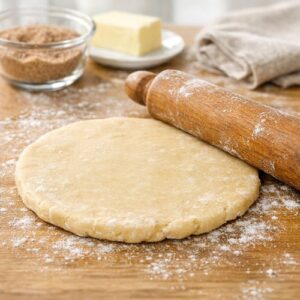
Step 5: Mix Your Filling—Simplicity Is Key
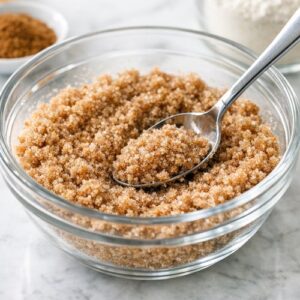
- While your dough rectangles chill, combine your brown sugar, cinnamon, and flour in a small bowl. Stir until the cinnamon is evenly distributed throughout the brown sugar. This is your only filling, and that's intentional—we're keeping flavors simple so the pastry technique stays front and center. The flour in the filling is critical: it absorbs the moisture from the brown sugar and prevents your filling from making the pastry soggy during baking.
Step 6: Assemble with Precision Sealing Technique
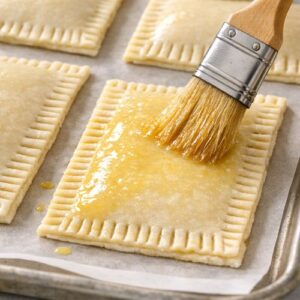
- Remove one baking sheet of rectangles from the refrigerator (these are your bottoms). Using a pastry brush, lightly brush egg wash over the entire surface of each rectangle. This will help seal the edges and create that glossy finish. Place a heaping tablespoon of filling in the center of each rectangle and spread it gently with the back of a spoon, leaving at least a ¼-inch border of bare dough around all edges. This border is your seal—if filling touches the edge, it will prevent the two pastry layers from bonding properly. Remove the second sheet of rectangles from the refrigerator (these are your tops). Brush egg wash over their surfaces, then place each one egg-wash-side-down directly on top of a filled bottom, sealing in the filling. Press firmly around all edges using your fingertips, paying special attention to the corners. You can also use the tines of a fork to crimp the edges, which both seals and decorates. Poke 6-8 small holes in the top of each pop tart using a toothpick—this allows steam to escape and prevents the pastry from puffing up too much during baking.
Step 7: The Final Chill and Bake
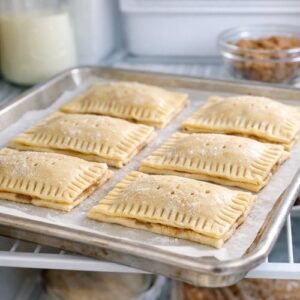
- Refrigerate your assembled pop tarts uncovered for at least 20 minutes, up to 1 hour. This final chill is essential—it allows the dough to relax again and helps the filling set slightly, preventing leaking during baking. Preheat your oven to 350°F. Remove the pop tarts from the refrigerator and brush the tops with the remaining egg wash. Bake for 25-30 minutes, rotating the pan halfway through, until the pastry is deep golden brown. The edges should look almost caramelized. Let them cool on the pan for 5 minutes (they'll be incredibly delicate when hot), then transfer to a cooling rack to cool completely before icing.
Step 8: Create Your Cinnamon Glaze
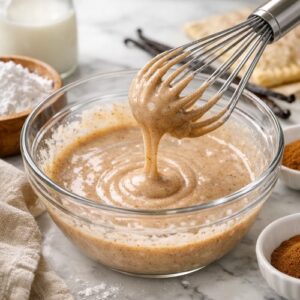
- While your pop tarts cool, whisk together your sifted confectioners' sugar, milk, cinnamon, and vanilla in a medium bowl. Sifting the confectioners' sugar is non-negotiable—it removes lumps that will never fully incorporate and creates a smooth glaze. You want a glaze that's thick but spreadable, like the consistency of yogurt. If it's too thick, add milk one teaspoon at a time until it reaches the right consistency. Spoon the icing onto the center of each cooled pop tart and use the back of the spoon or an icing spatula to spread it evenly across the top. The icing will set in about 1 hour at room temperature.
Notes
- Dense, tough pastry instead of flaky layers - This happens when butter gets too warm during mixing (it blends into the flour) or when you add too much water and develop too much gluten. Next time: work faster, keep everything cold, and add water more gradually. Pre-chill your bowl if your kitchen is warm.
- Dough tears or cracks when rolling out - Your dough either didn't rest long enough (it needs at least 2 hours) or it's too cold to roll. Let it sit at room temperature for 5-7 minutes before rolling. If it's still cracking, it likely didn't have enough water—next batch, add water a bit more generously early on.
- Filling leaks out during baking - Your sealing wasn't tight enough, or filling touched the edges. Make sure you leave a ¼-inch border of bare dough and press very firmly around all edges with your fingertips. Also ensure the flour in your filling is well-mixed to prevent moisture from pooling.
- Pastry is pale, not golden brown - Your oven may be running cool (invest in an oven thermometer), or your pop tarts weren't in long enough. Also check that you applied egg wash evenly. Bake until you see actual caramelization at the edges—they'll look darker than you think is safe, but that's when you know they're done.