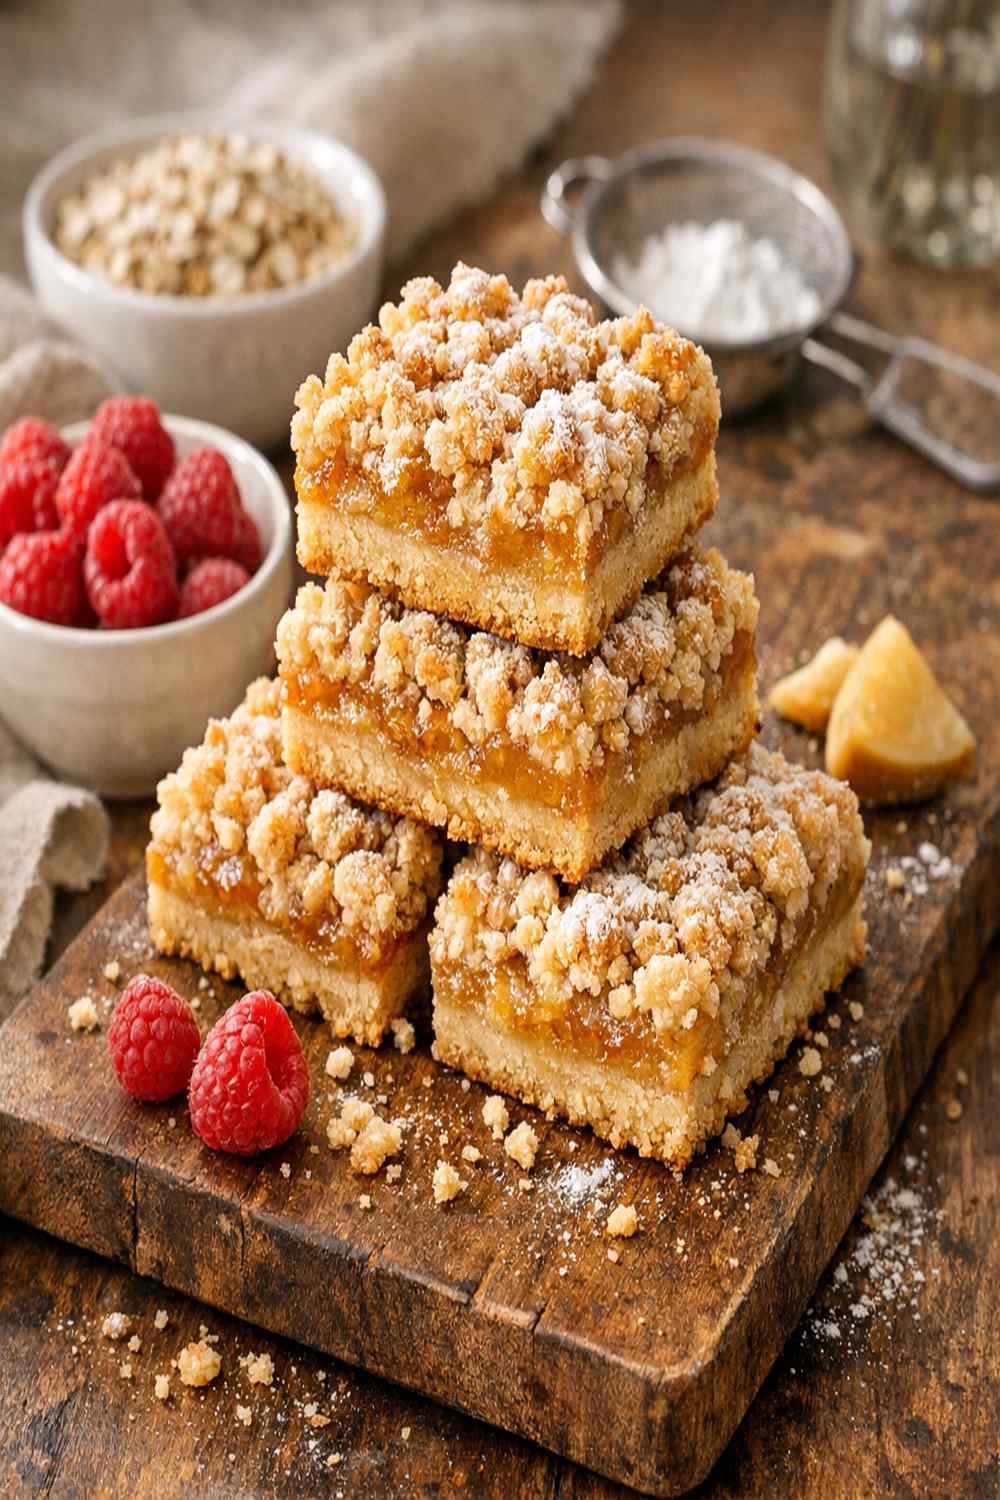

Ingredients
Method
Step 1: Prep Your Pan and Preheat
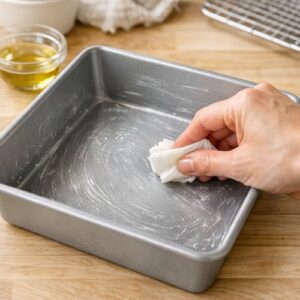
- Start by setting your oven to 350°F (180°C). While it's heating, grab an 8-inch square baking pan and lightly grease the entire interior with a neutral oil or cooking spray. Then tear off a piece of parchment paper about 12 inches long and press it into the pan, allowing 2 inches of overhang on all sides. This overhang is crucial—it gives you something to grip later when lifting the entire baked square out in one piece. Why this matters: A cold pan can cause uneven baking. Parchment paper with overhang prevents you from having to flip or invert the bars, which is when they crack or crumble apart.
Step 2: Make the Base and Topping Mixture
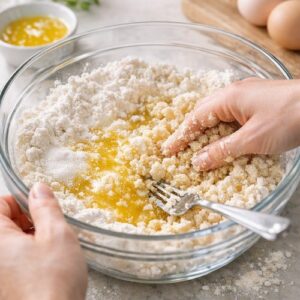
- In a large mixing bowl, combine the melted butter, all-purpose flour, white sugar, baking powder, and salt. Using a fork or your fingertips, mix everything together until you no longer see white streaks of flour. The mixture should look like wet sand or coarse breadcrumbs—not sticky, not dry, but crumbly. This is the texture that tells you the butter has coated all the flour evenly. If you see white bits of flour still clinging to the sides of the bowl, keep mixing. Why this matters: Uneven mixing creates pockets of dry flour that taste chalky and areas that are too buttery. Mixing to the point where flour disappears ensures a consistent crumb throughout.
Step 3: Add the Egg and Oats
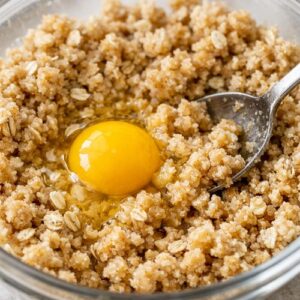
- Add one large egg to the crumb mixture and stir until the ingredients just come together. The mixture will look slightly wetter now, but still crumbly—not dough-like. Then add the rolled oats and fold them in gently with a spatula. You want the oats distributed throughout, but not mashed or crushed. Why this matters: The egg provides just enough moisture to bind everything while the oats add texture and visual interest. Overmixing at this stage creates a dense, cake-like base instead of a tender crumb.
Step 4: Press the Base Into the Pan and Pre-Bake
- Measure out about two-thirds of the crumb mixture and press it firmly and evenly into the bottom of your prepared pan. Use your fingertips or the bottom of a measuring cup to create an even layer—you want the base to be compact so it holds together, but not so dense that it's hard as a brick. Transfer the pan to your preheated oven and bake for 15 minutes, until the edges are just starting to turn golden and the center is set but still pale. This is the critical step that prevents a soggy, falling-apart bar. You're not trying to fully bake the base—just set it so it can handle the moisture from the apples. While the base bakes, prepare the apple filling (see Step 5). Why this matters: A pre-baked base creates a moisture barrier. Without this step, the apples' natural juices soak into the base, making it soggy and unstable.
Step 5: Make the Apple Filling
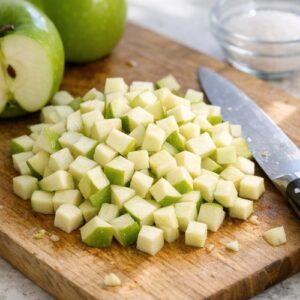
- While the base is in the oven, dice your Granny Smith apples into roughly ⅓-inch pieces—aim for consistency in size so they cook evenly. You should have about 4 cups of diced apples. In a separate bowl, whisk together the ¼ cup all-purpose flour, ¼ cup white sugar, cinnamon, and nutmeg. Add the diced apples to this mixture and toss gently until every piece is coated. The flour coating will draw out a tiny amount of the apples' natural moisture while also preventing the liquid from pooling at the bottom of the pan. Why this matters: The flour in the filling acts as a moisture manager. Without it, you'll end up with a wet, soggy filling that makes the bars impossible to cut cleanly.
Step 6: Add the Filling and Remaining Crumb Topping
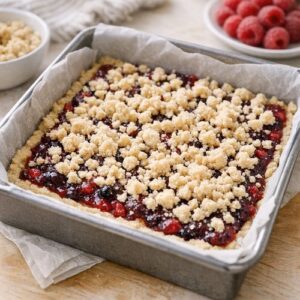
- Remove the partially baked base from the oven. It should be set but not fully cooked—still pale in the center. Let it cool for just 5 minutes (this helps prevent the filling from sinking into the warm base). Spread the apple mixture evenly over the cooled base, making sure the apples are distributed all the way to the edges. Then take the remaining one-third of the crumb mixture and scatter it loosely over the apple filling. Do not press down—you want a loose, crumbly topping that will toast into golden clusters, not a dense layer. Why this matters: A loose topping becomes crispy and flavorful. A pressed-down topping bakes into something dense and heavy. The two-stage process (pressing the base, scattering the topping) creates the textural contrast that makes these bars special.
Step 7: Bake Until Golden and Set
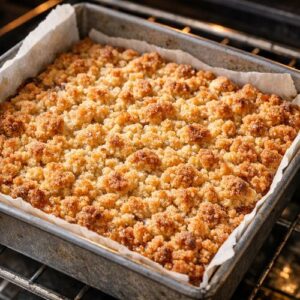
- Return the pan to the oven and bake for 25 to 30 minutes, until the crumb topping is deep golden brown and you don't see any glossy, wet spots on the apples. The bars should smell warm and slightly caramelized. If you gently press the crumb topping with a finger (use protection—it's hot!), it should feel set and slightly firm, not soft or wet. Why this matters: This final bake toasts the oats, caramelizes the sugar, and ensures the filling is fully cooked and the moisture has been driven off. Under-baking leaves you with a wet, unstable filling.
Step 8: Cool Completely Before Cutting
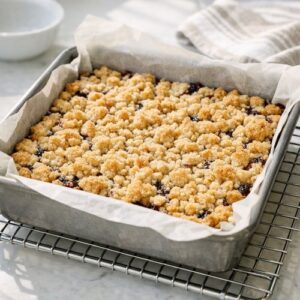
- Remove the bars from the oven and let them cool completely in the pan on a wire rack. This usually takes 1 to 2 hours at room temperature. Do not skip this step—cutting into warm bars will cause them to fall apart. The structure sets as the bars cool, and the apples firm up slightly. Once completely cooled, grip the parchment paper overhang and carefully lift the entire baked square out of the pan. Place it on a cutting board and use a sharp knife (wiping it clean between cuts) to slice the bars into 16 even squares. A 4x4 grid of cuts creates the standard bar size. Why this matters: Cooling allows the structure to set properly. Lifting with parchment prevents breakage and crumbling.
Notes
- Using soft or sweet apples (like Honeycrisp or Fuji) – these break down into mush during baking, creating a wet, unstable filling. Stick exclusively with Granny Smiths or other tart baking varieties. Your bars will hold their shape, and the flavor will be better balanced.
- Skipping the pre-bake of the base – this is the single biggest reason bars fall apart when you cut them. That 15-minute pre-bake is non-negotiable. It creates a moisture barrier that prevents sogginess.
- Pressing down the crumb topping – when you scatter the topping over the filling, resist the urge to press it down or pat it into place. A loose, uncompacted topping bakes into crispy, golden clusters. A pressed topping becomes dense and heavy.