This post contains affiliate links. As an Amazon Associate I earn from qualifying purchases.
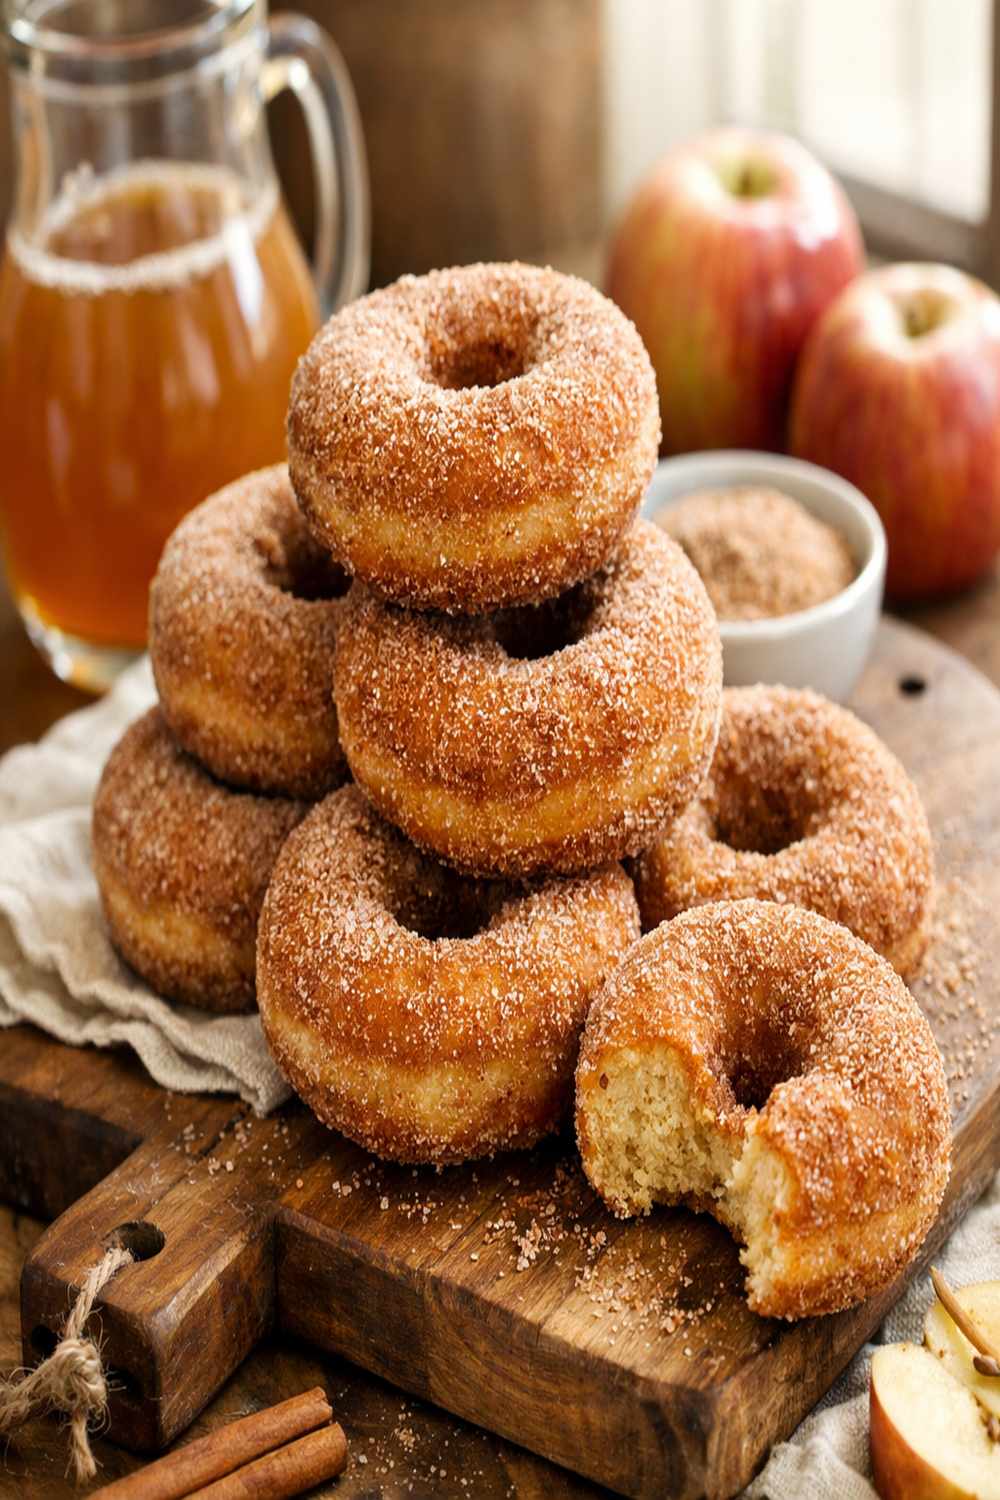
I still remember September mornings at my kids’ school, when the hallways smelled like cinnamon and apple cider. That’s when I realized I didn’t need a trip to the orchard to capture that magic—I could make it happen in my own kitchen. These easy cider donuts have become my September tradition, and honestly? They’re so simple that my eight-year-old helps me pipe the batter now. Warm from the oven, rolled in spiced sugar, they taste like fall in a single bite. I’m sharing my go-to recipe that’s been tested dozens of times on my family, and I promise it’s foolproof. Ready in 30 minutes with zero frying mess, these are the donuts you’ve been craving.
Easy Cider Donut Recipe (Ready in 30 Minutes, Baked Not Fried!)
As a registered dietitian and busy mom, I’ve learned that the best recipes are the ones that actually get made—not the ones sitting bookmarked in your browser at 2 AM. This cider donut recipe is my golden ticket. It combines that authentic apple cider reduction that makes your kitchen smell incredible with the ease of a sheet pan bake. No deep fryer, no oil splatter, no guilt. Just tender, spiced donuts that taste like you spent hours at a farmers market. My family devours them straight from the cooling rack, and yours will too.
Why You’ll Love This Recipe
- Ready in 30 minutes flat — from mixing bowl to spiced coating in under half an hour, including cooling time
- Baked instead of fried — no oil splatters, no deep fryer cleanup, just a standard donut pan you probably already own
- Crispy-tender texture with authentic apple cider flavor — the reduction concentrates all that sweet, tangy fall essence into pure donuts goodness
- Kid-friendly assembly — my kids help pipe the batter and roll the donuts, turning breakfast into a fun activity instead of a chore
What You Need
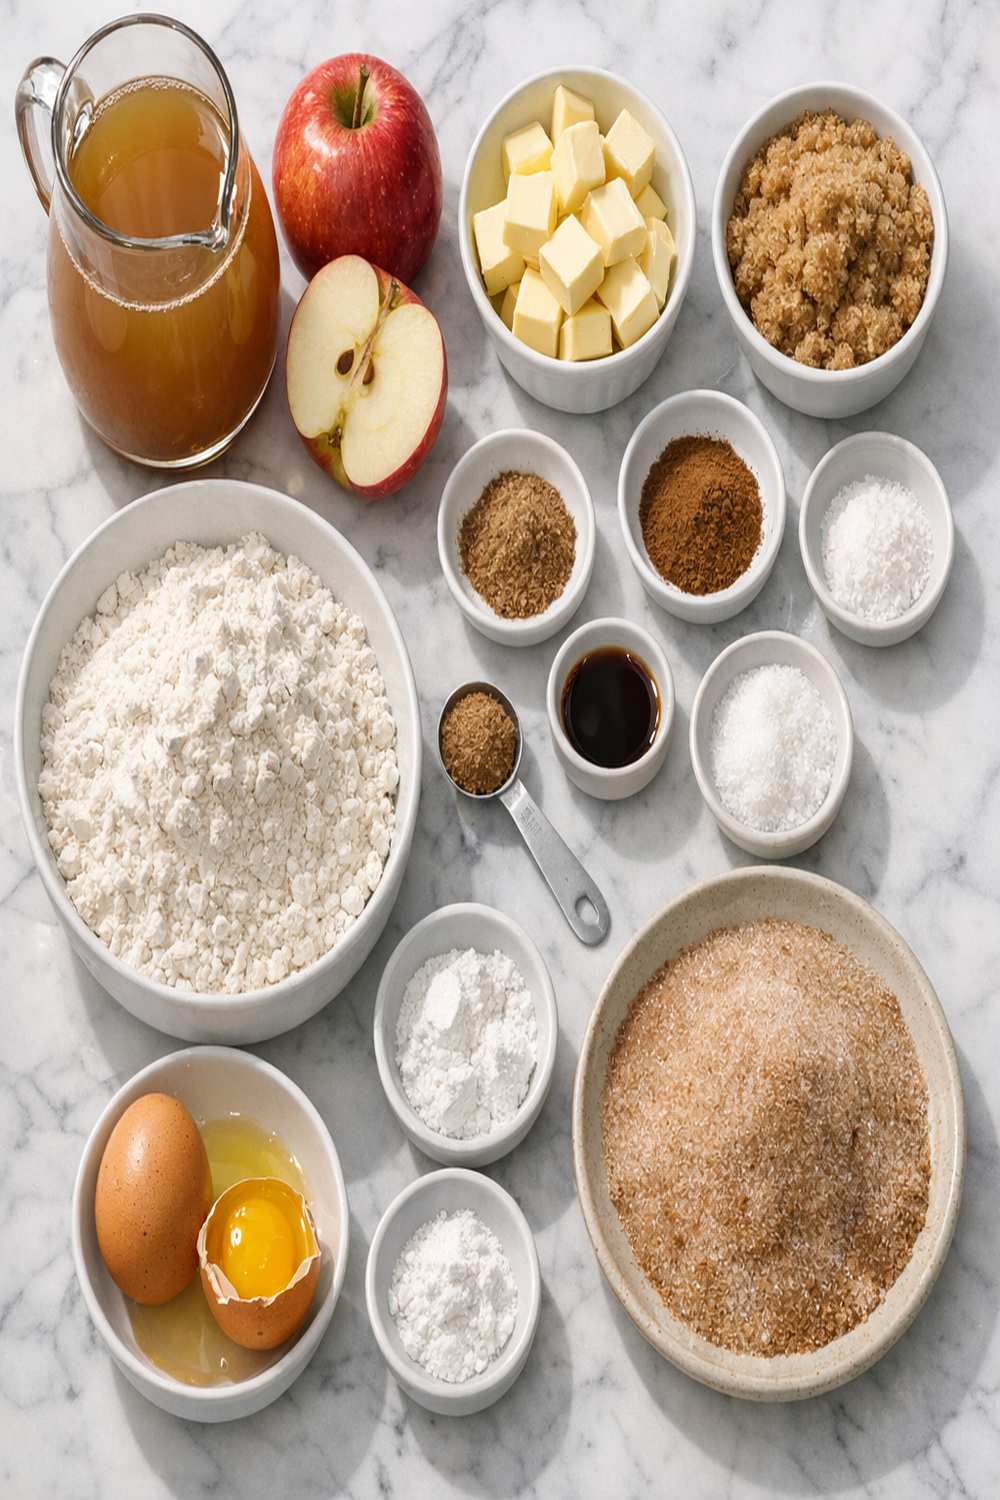
Just 16 simple ingredients, mostly pantry staples:
For the Donuts
- 1½ cups apple cider (fresh, not the bottled concentrate)
- 2 cups all-purpose flour (spooned and leveled, never packed)
- 1 teaspoon baking soda (helps the donuts rise evenly)
- ¾ teaspoon baking powder (double-acting works best)
- 1 teaspoon ground cinnamon (preferably Ceylon or Vietnamese for deeper flavor)
- 1 teaspoon apple pie spice blend (or homemade mix of cinnamon, nutmeg, and allspice)
- ¼ teaspoon fine sea salt (balances sweetness)
- 2 tablespoons unsalted butter (melted and slightly cooled)
- 1 large egg (room temperature, for better incorporation)
- ½ cup packed light brown sugar (adds moisture and richness)
- ½ cup granulated sugar (creates the tender crumb)
- ½ cup whole milk (full-fat creates better texture than low-fat)
- 1 teaspoon pure vanilla extract (not imitation)
For the Spiced Sugar Coating
- 1 cup granulated sugar (for the final roll)
- ¾ teaspoon ground cinnamon (this one goes on the outside)
- ¾ teaspoon apple pie spice blend
- 6 tablespoons unsalted butter (melted, for dunking)
Yield: Makes 12-14 donuts, depending on your pan size
How to Make Easy Cider Donut Recipe in 6 Steps
Here’s exactly how to do it:
Step 1: Reduce Your Apple Cider to Liquid Gold
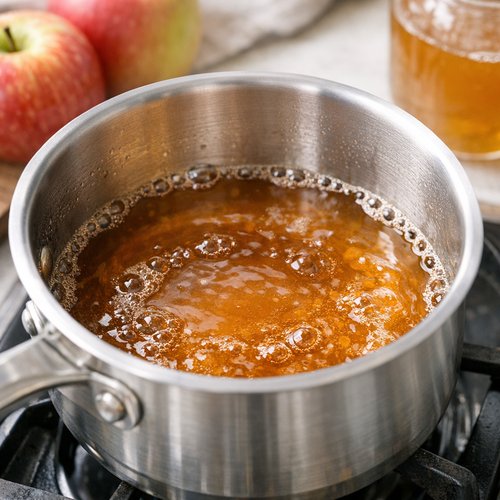
Pour your 1½ cups of apple cider into a small saucepan and bring it to a gentle simmer over medium-low heat. This step is non-negotiable—you’re concentrating all those apple and spice flavors into pure magic. Stir occasionally and check your progress at the 10-minute mark, then every 5 minutes after. You’re looking for about ½ cup of reduced liquid. Mine typically takes 18-22 minutes depending on the cider’s water content. When you get close, you’ll notice the color deepens to a rich amber. Don’t worry if there are some spice solids floating on top—those are flavor bombs. Set the reduced cider aside to cool for 10 minutes while you prep everything else.
Step 2: Preheat and Prep Your Donut Pan
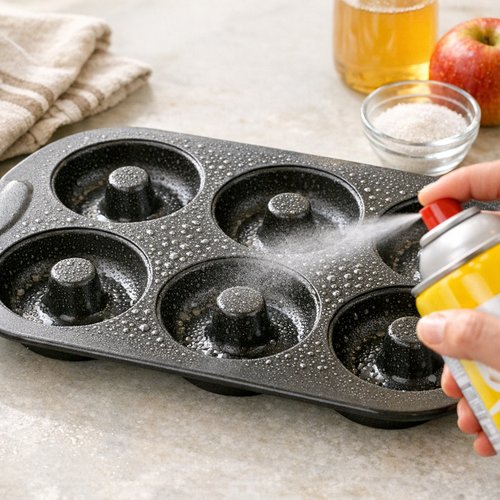
Heat your oven to 350°F and generously spray your donut pan with nonstick spray—I’m talking every crevice. The difference between sticky donuts that won’t release and perfectly shaped ones comes down to this step. If you have two donut pans, this is the time to get both ready. Set them aside on your counter.
Step 3: Mix the Dry Foundation
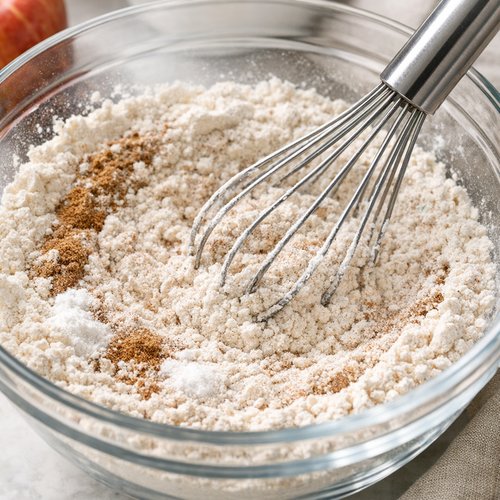
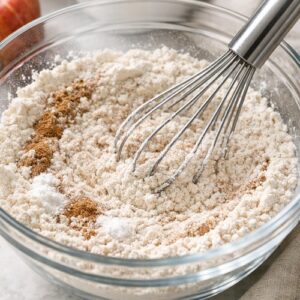
In a large mixing bowl, whisk together your flour, baking soda, baking powder, cinnamon, apple pie spice, and salt. Make sure everything is evenly distributed—lumpy flour means lumpy donuts. I use a whisk rather than a fork because it breaks up any clumps hiding in the brown sugar or flour. This takes about 30 seconds but makes a real difference. Set this bowl aside and don’t walk away yet.
Step 4: Create the Wet Mixture
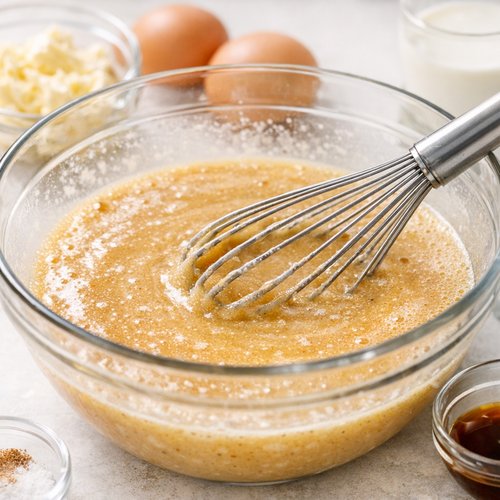
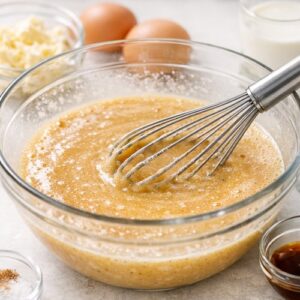
In another large bowl, whisk together your melted butter, egg, brown sugar, granulated sugar, milk, and vanilla extract until smooth and combined. This is where the richness happens—those two sugars plus the egg create a tender crumb that stays moist for days. If your milk or egg was cold, the butter might seize up slightly. Don’t worry; it’ll smooth out once you combine it with the dry ingredients.
Step 5: Combine and Fill
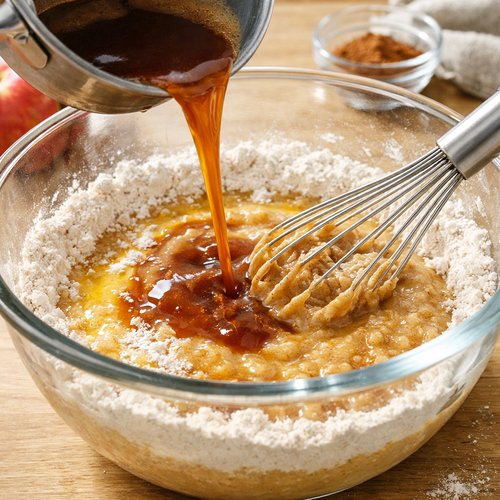
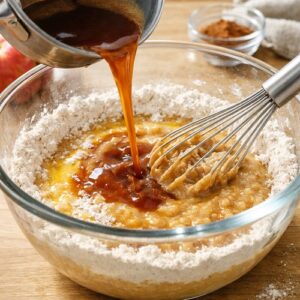
Pour your wet mixture into the dry ingredients, add that beautiful reduced apple cider, and whisk everything together until just combined. The batter should be thick but still pourable—thicker than pancake batter but thinner than cookie dough. Here’s my secret: transfer the batter into a large zip-top bag, cut a ½-inch corner off the bottom, and pipe the batter into each donut cavity until about halfway full. This is so much easier than trying to spoon it in, and my kids actually fight over who gets to do the piping. Re-grease your pan between batches if you’re making a full batch.
Step 6: Bake, Cool, and Coat
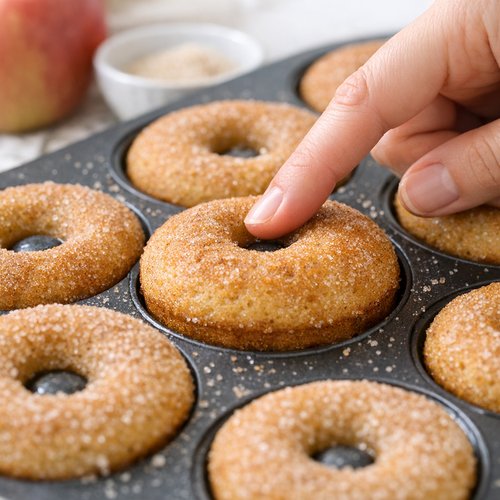
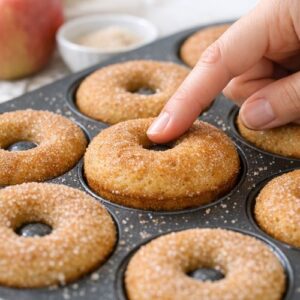
Bake for 10-11 minutes until the edges and tops are lightly golden brown. Here’s the doneness test: poke your finger gently into the top of one donut. If it bounces back, they’re done. If your finger leaves an indent, give them another minute. Let them cool in the pan for exactly 2 minutes—this prevents them from breaking apart when you flip them—then transfer to a cooling rack. While they’re cooling, combine your granulated sugar, cinnamon, and apple pie spice in a small bowl. Once the donuts are cool enough to handle (about 5 minutes), dunk each side in melted butter, then generously roll in the spiced sugar. The butter helps the sugar stick and adds an extra layer of indulgence.
Expert’s Nutritional Tip
Here’s what I tell my nutrition clients: this recipe uses reduced apple cider instead of apple juice concentrate, which means you’re getting real apple solids and fiber, not just sugar water. Plus, I’ve kept the fat content moderate by using just 2 tablespoons of butter in the batter (versus the 8-10 tablespoons in traditional fried versions). One donut delivers about 180-200 calories and just over 1 gram of fiber from the whole wheat-style texture you get from the reduced cider. That’s a completely reasonable treat that won’t send your blood sugar on a roller coaster. The cinnamon and apple pie spice actually have anti-inflammatory compounds too—so you’re not just eating something delicious, you’re eating something that works with your body.
5 Ways to Customize This Recipe
- Maple Glazed Version — skip the spiced sugar coating and whisk together ¾ cup powdered sugar, 2 tablespoons maple syrup, and 2 tablespoons milk. Dip the tops of warm donuts into this glaze instead. Absolutely stunning.
- Brown Butter Cinnamon — substitute the melted butter in the wet ingredients with browned butter (cook butter in a saucepan until it’s nutty and fragrant, then cool). The nutty flavor elevates the whole donut.
- Pumpkin Spice Hybrid — reduce the apple cider to ¼ cup instead of ½ cup, and add ⅓ cup pumpkin puree to the wet ingredients. It’s the perfect September bridge recipe.
- Gluten-Free Version — swap the all-purpose flour for a 1:1 gluten-free blend (I use Bob’s Red Mill). The reduced cider helps bind everything together, so these work beautifully gluten-free.
- Vegan Adaptation — use a flax egg (1 tablespoon ground flaxseed plus 3 tablespoons water, mixed and rested for 5 minutes) instead of the egg, and use almond or oat milk instead of dairy milk. The texture is slightly less tender but still completely delicious.
Make It Ahead and Meal Prep Tips
- Batter Prep the Night Before — combine all your dry ingredients in a zip-top bag, seal it, and store on your counter. In the morning, you only need to make the reduced cider and mix the wet ingredients. This cuts your morning prep to 15 minutes flat. Literally life-changing for busy mornings.
- Reduce Cider in Bulk — when apple cider is in season, I reduce 4-5 cups at once and freeze it in ice cube trays. Pop one or two cubes into a donut batch anytime from September through February. This saves 20 minutes whenever the donut craving hits.
- Make the Spiced Sugar Coating Ahead — combine your sugars and spices in a mason jar up to 2 weeks ahead. Keeps everything organized and ready to go the moment your donuts come out of the oven.
Quick Substitutions
- Apple cider → apple juice plus ⅛ teaspoon maple extract (won’t concentrate as much flavor, but it works)
- Apple pie spice blend → ½ teaspoon cinnamon plus ¼ teaspoon nutmeg plus ⅛ teaspoon allspice
- All-purpose flour → whole wheat pastry flour for 50% of the flour (creates a more complex flavor and adds fiber)
- Whole milk → full-fat Greek yogurt mixed with a splash of water to reach the same consistency
- Brown sugar → an equal amount of granulated sugar plus 1 extra tablespoon of molasses for depth
How to Store and Reheat
Room temperature: Keep donuts in an airtight container for up to 2 days. Refrigerator: Store covered for up to 5 days (they actually stay moister in the fridge than on the counter). Freezer: Wrap individual donuts in plastic wrap, then place in a freezer bag for up to 3 months. To reheat: wrap a donut in a damp paper towel and microwave for 20-30 seconds until warm, or place directly on a toaster oven rack at 300°F for 8-10 minutes until heated through. The toaster oven method keeps them slightly crispier on the outside.
Nutrition at a Glance
Per donut (based on 13 donuts per batch): approximately 185 calories, 7g fat, 28g carbohydrates, 1g fiber, and 2g protein. The reduced apple cider contributes natural sugars and trace minerals including potassium and vitamin C (per USDA nutrition database). This is a moderate-indulgence treat that fits into a balanced breakfast or snack routine when paired with protein like Greek yogurt or a handful of nuts.
Serve It With
These donuts shine on their own, but I love pairing them with a steaming mug of hot apple cider or a simple cold brew coffee. For breakfast, serve alongside a protein-rich option like Greek yogurt parfaits or scrambled eggs. My kids love dunking theirs in warm vanilla milk, creating a little donut dunk situation. For a more indulgent occasion, pair these with other fall baking favorites like autumn cookie recipes for a proper pastry spread.
- Hot spiced apple cider — the natural pairing that makes your kitchen smell like September
- Vanilla bean Greek yogurt — adds protein and creates a creamy contrast to the crispy-tender donut
- Cold brew coffee — the slight bitterness balances the spiced sweetness perfectly
Common Mistakes to Avoid
Mistake #1: Skipping the Cider Reduction — I know it seems like an extra step, but using unreduced apple cider will leave you with dense, gummy donuts. The reduction concentrates the flavor and drives off excess moisture. Those 20 minutes are absolutely essential.
Mistake #2: Overfilling the Donut Cavities — if you fill more than halfway, your donuts will dome over the top and won’t look pretty. Fill to just below the rim and you’ll get that perfect donut shape every time. This is where that piping bag really shines.
Mistake #3: Not Cooling Them Completely Before Coating — I get it, you want to eat them immediately. But if you coat them while they’re still hot, the spiced sugar will melt and slide right off. Wait those 5 minutes. It’s worth it.
Mistake #4: Using Margarine Instead of Real Butter — this one comes from my dietitian heart. Margarine has a different smoke point and won’t create that same rich, caramelized coating. Real butter matters here, and it’s only used in small amounts anyway.
Seasonal Variations
- September-October (Peak Apple Season) — use fresh-pressed apple cider from a local orchard or farmers market. The flavor difference is remarkable. This is what I do for my “official” cider donut season.
- November-December (Holiday Transition) — add ⅛ teaspoon ground clove and ⅛ teaspoon ginger to the spiced sugar coating for a more Christmas-forward flavor profile. Absolutely stunning with hot mulled wine.
- Winter Storage (January-February) — this is when I use my frozen reduced cider cubes. The flavor is still authentic because you’re freezing the concentrated version at peak freshness.
- Spring Adaptation — swap apple cider for fresh lemon juice mixed with water and a touch of honey. Use lemon zest instead of cinnamon in the coating. It’s a completely different vibe but uses the same methodology.

Easy Cider Donut Recipe
Ingredients
Method
- Pour your 1½ cups of apple cider into a small saucepan and bring it to a gentle simmer over medium-low heat. This step is non-negotiable—you're concentrating all those apple and spice flavors into pure magic. Stir occasionally and check your progress at the 10-minute mark, then every 5 minutes after. You're looking for about ½ cup of reduced liquid. Mine typically takes 18-22 minutes depending on the cider's water content. When you get close, you'll notice the color deepens to a rich amber. Don't worry if there are some spice solids floating on top—those are flavor bombs. Set the reduced cider aside to cool for 10 minutes while you prep everything else.
- Heat your oven to 350°F and generously spray your donut pan with nonstick spray—I'm talking every crevice. The difference between sticky donuts that won't release and perfectly shaped ones comes down to this step. If you have two donut pans, this is the time to get both ready. Set them aside on your counter.

- In a large mixing bowl, whisk together your flour, baking soda, baking powder, cinnamon, apple pie spice, and salt. Make sure everything is evenly distributed—lumpy flour means lumpy donuts. I use a whisk rather than a fork because it breaks up any clumps hiding in the brown sugar or flour. This takes about 30 seconds but makes a real difference. Set this bowl aside and don't walk away yet.
- In another large bowl, whisk together your melted butter, egg, brown sugar, granulated sugar, milk, and vanilla extract until smooth and combined. This is where the richness happens—those two sugars plus the egg create a tender crumb that stays moist for days. If your milk or egg was cold, the butter might seize up slightly. Don't worry; it'll smooth out once you combine it with the dry ingredients.
- Pour your wet mixture into the dry ingredients, add that beautiful reduced apple cider, and whisk everything together until just combined. The batter should be thick but still pourable—thicker than pancake batter but thinner than cookie dough. Here's my secret: transfer the batter into a large zip-top bag, cut a ½-inch corner off the bottom, and pipe the batter into each donut cavity until about halfway full. This is so much easier than trying to spoon it in, and my kids actually fight over who gets to do the piping. Re-grease your pan between batches if you're making a full batch.
- Bake for 10-11 minutes until the edges and tops are lightly golden brown. Here's the doneness test: poke your finger gently into the top of one donut. If it bounces back, they're done. If your finger leaves an indent, give them another minute. Let them cool in the pan for exactly 2 minutes—this prevents them from breaking apart when you flip them—then transfer to a cooling rack. While they're cooling, combine your granulated sugar, cinnamon, and apple pie spice in a small bowl. Once the donuts are cool enough to handle (about 5 minutes), dunk each side in melted butter, then generously roll in the spiced sugar. The butter helps the sugar stick and adds an extra layer of indulgence.
Notes
FAQs
Can I make these in a mini donut pan?
Absolutely! You’ll get about 24-28 mini donuts instead. Reduce the baking time to 6-7 minutes and watch them closely. They bake faster because of the smaller size.
What if I don’t have a donut pan?
I won’t lie—it’s tough without one. Silicone donut pans are about $8 and totally worth it. If you’re in a pinch, you can pipe the batter into muffin cups, but you’ll get donut holes or dense muffin-tops instead of true donuts. Not the same magic.
Can I use store-bought apple cider or does it have to be fresh-pressed?
Store-bought works! It just needs to be 100% apple cider (look at the ingredient list—should only say apples). Some brands have added sugars or preservatives that affect the final flavor, but any pure apple cider will work. Fresh-pressed from a local orchard is better, but I’ve made these successfully with grocery store brands.
Why is my batter too thick or too thin?
Thickness depends on how much your cider reduced. If you only reduced it to ¾ cup instead of ½ cup, your batter will be thinner. Similarly, if your flour was packed (instead of spooned), you’ve added extra flour and the batter will be thicker. Both situations are fixable: too thick = add 1 tablespoon milk at a time; too thin = add 1 tablespoon flour at a time.
How do I know when the donuts are actually done baking?
That poke test is your best friend. The donut should be set on the edges and top but still have a tiny bit of give when you touch the center. It should bounce back within a second. If you wait for them to feel completely firm, you’ve overbaked them and they’ll be dry. Slightly underbaked is better than overdone.
More Quick Recipes
- Best Lunch Lady Brownies Recipe — chewy, fudgy, and ready in 35 minutes for when you need chocolate instead of spice
- my go-to banana bread — another fall-friendly bake using warm spices that pairs beautifully with morning coffee
- Apple Cider Recipe — learn how to make your own fresh cider from scratch for even more donut-making potential
- Autumn Cookie Recipes — round out your fall baking repertoire with more spiced treats for your family
These cider donuts have become the recipe my kids request every September morning, and I’ve taught two other moms how to make them at school pickup. There’s something magical about a warm donut rolled in spiced sugar, still tender from the oven, that tastes like fall without all the fuss of frying. You absolutely need to make these tonight. Grab your apple cider, dust off that donut pan, and let your kitchen smell like the best version of autumn. I can’t wait for you to taste what you’ve made. Happy cooking!